
Last updated October 30, 2026
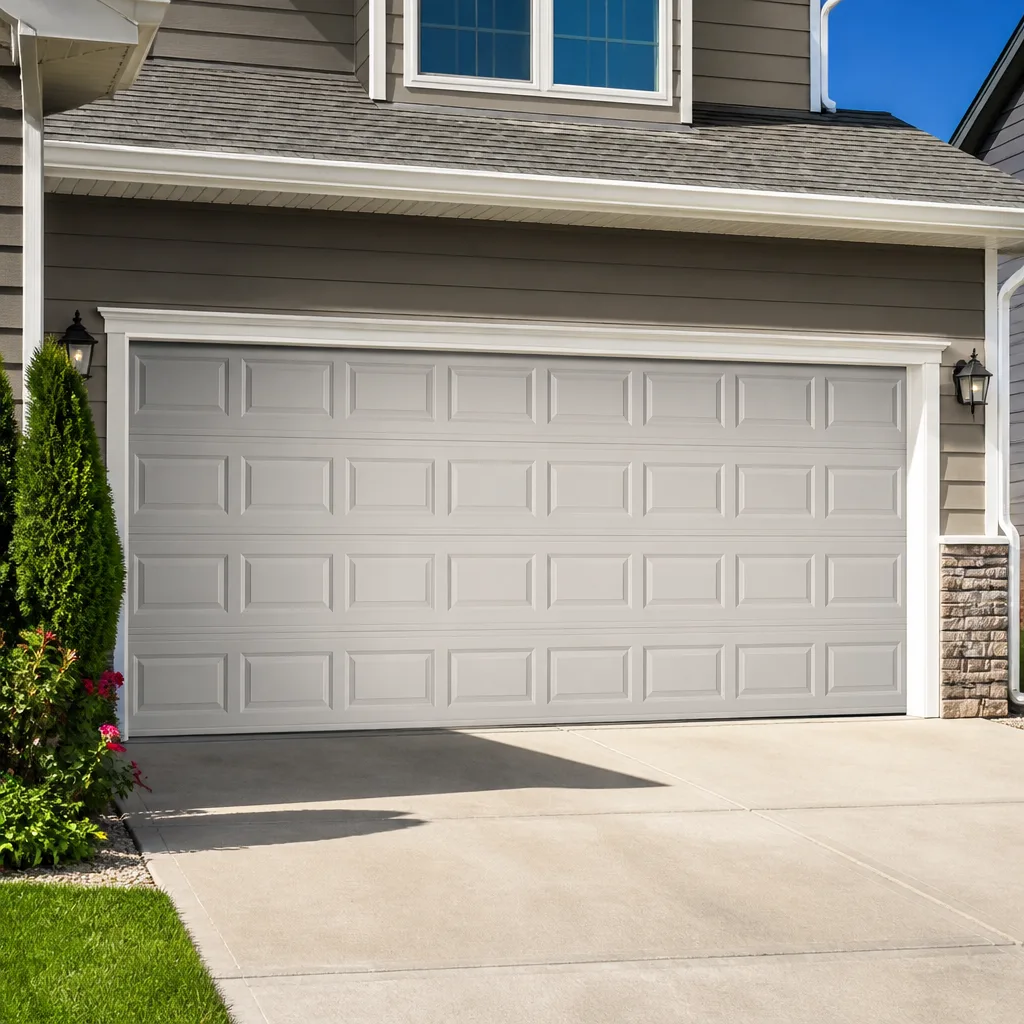 Raised-panel steel
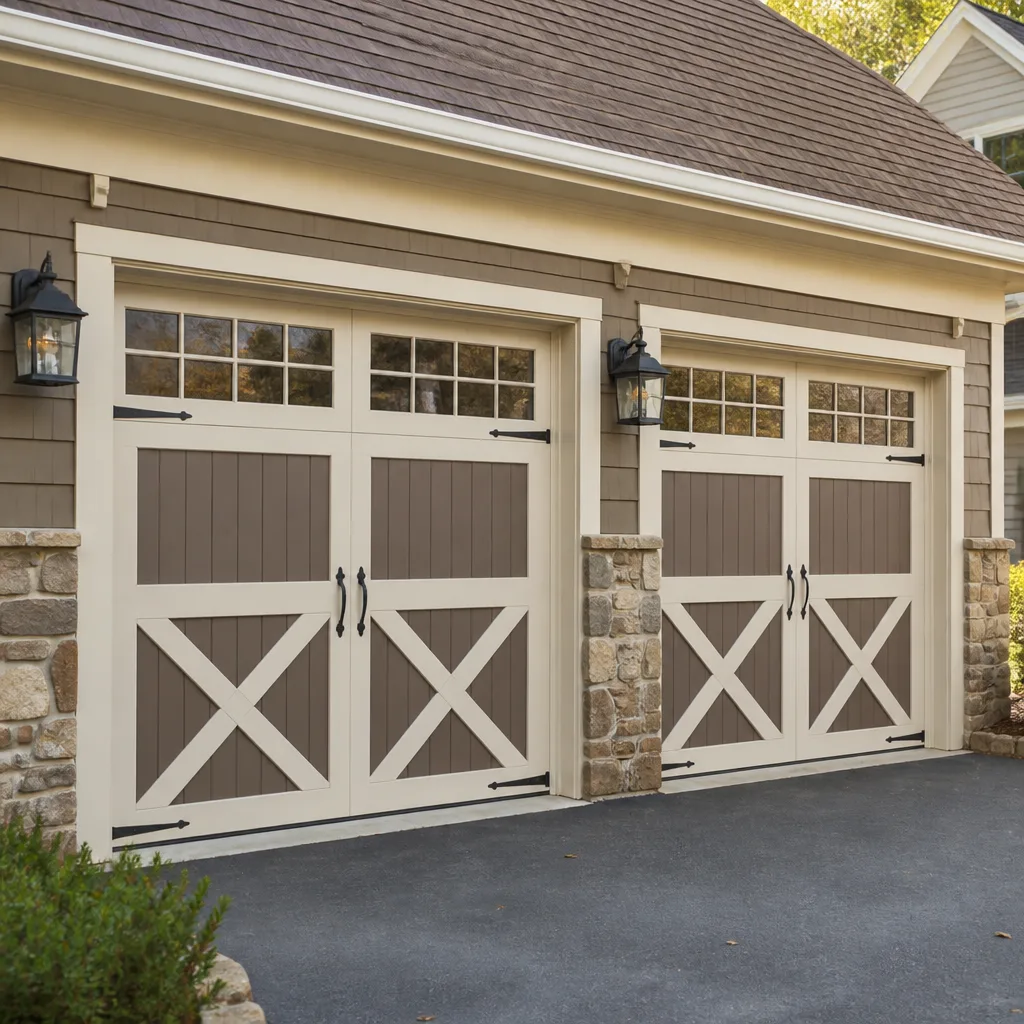 Carriage house
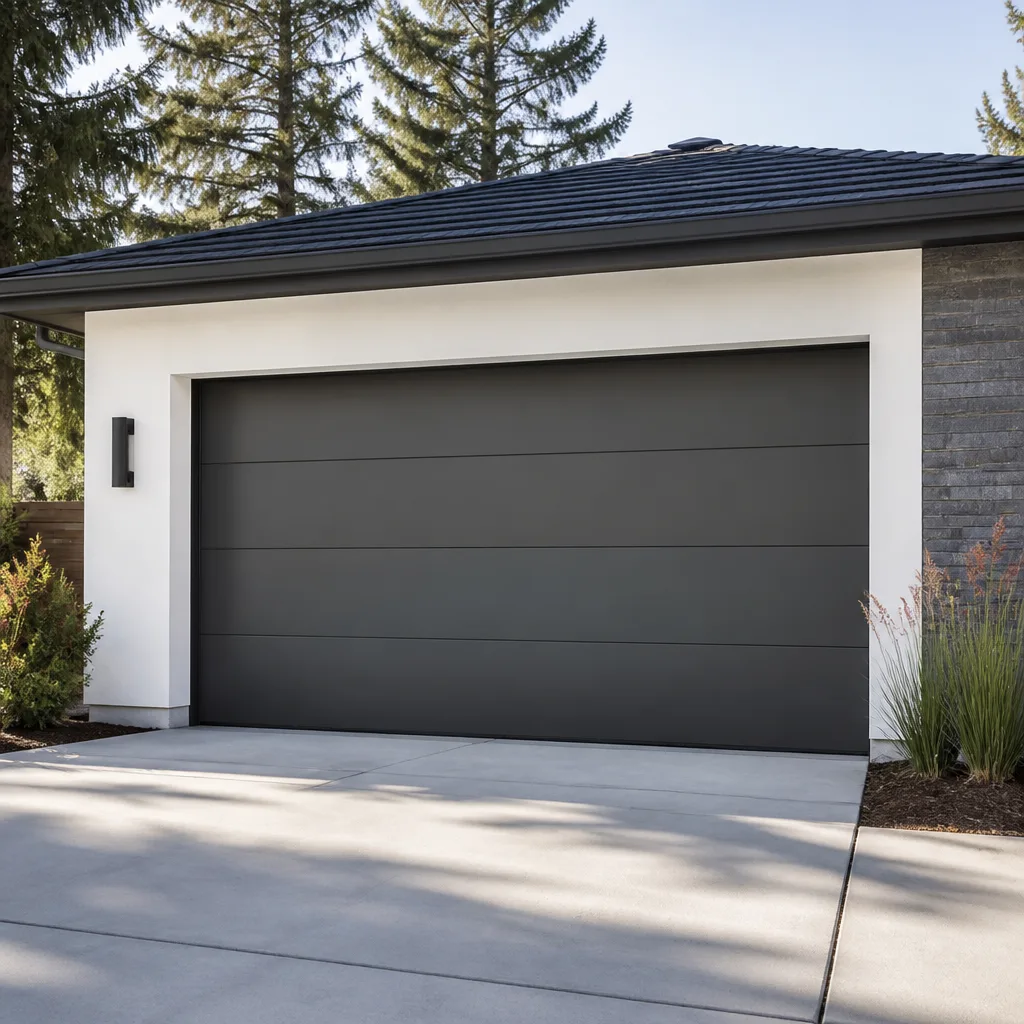 Modern flush
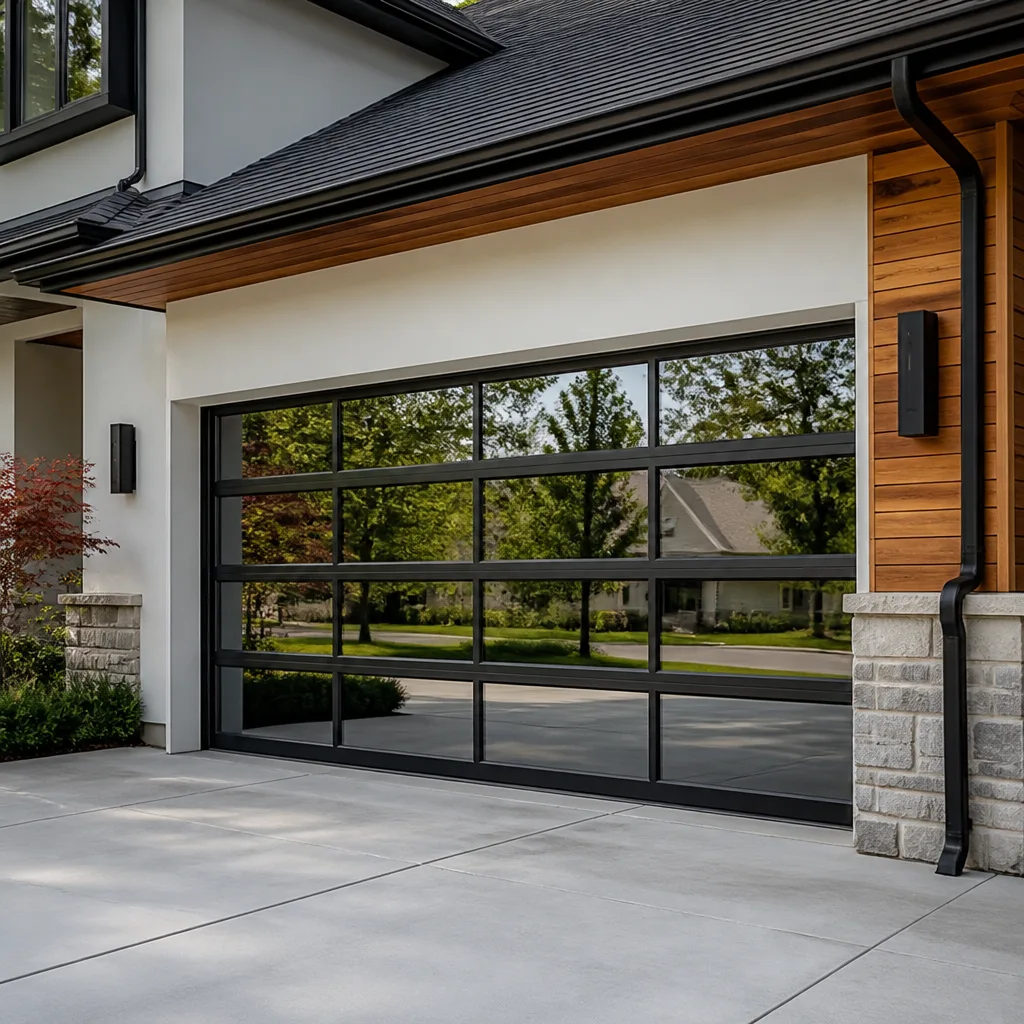 Full-view glass
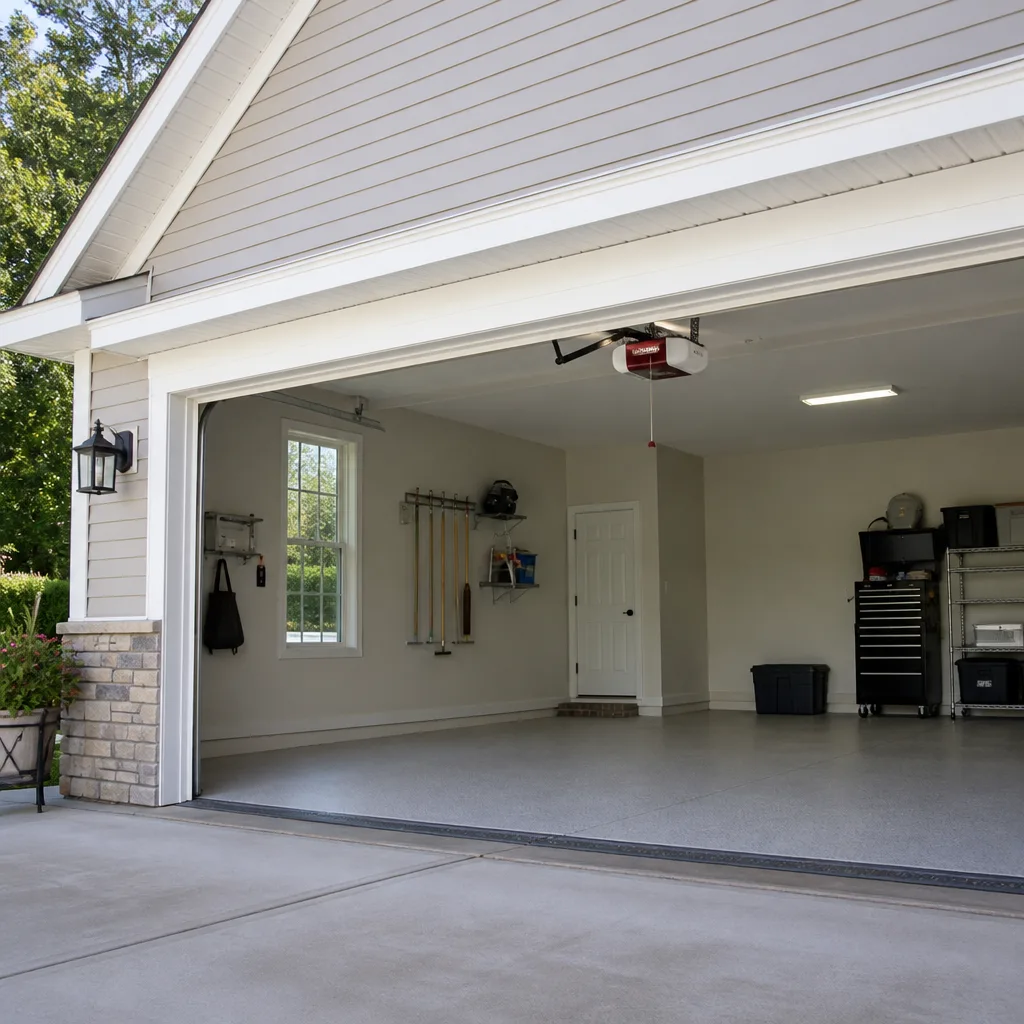 LiftMaster openers
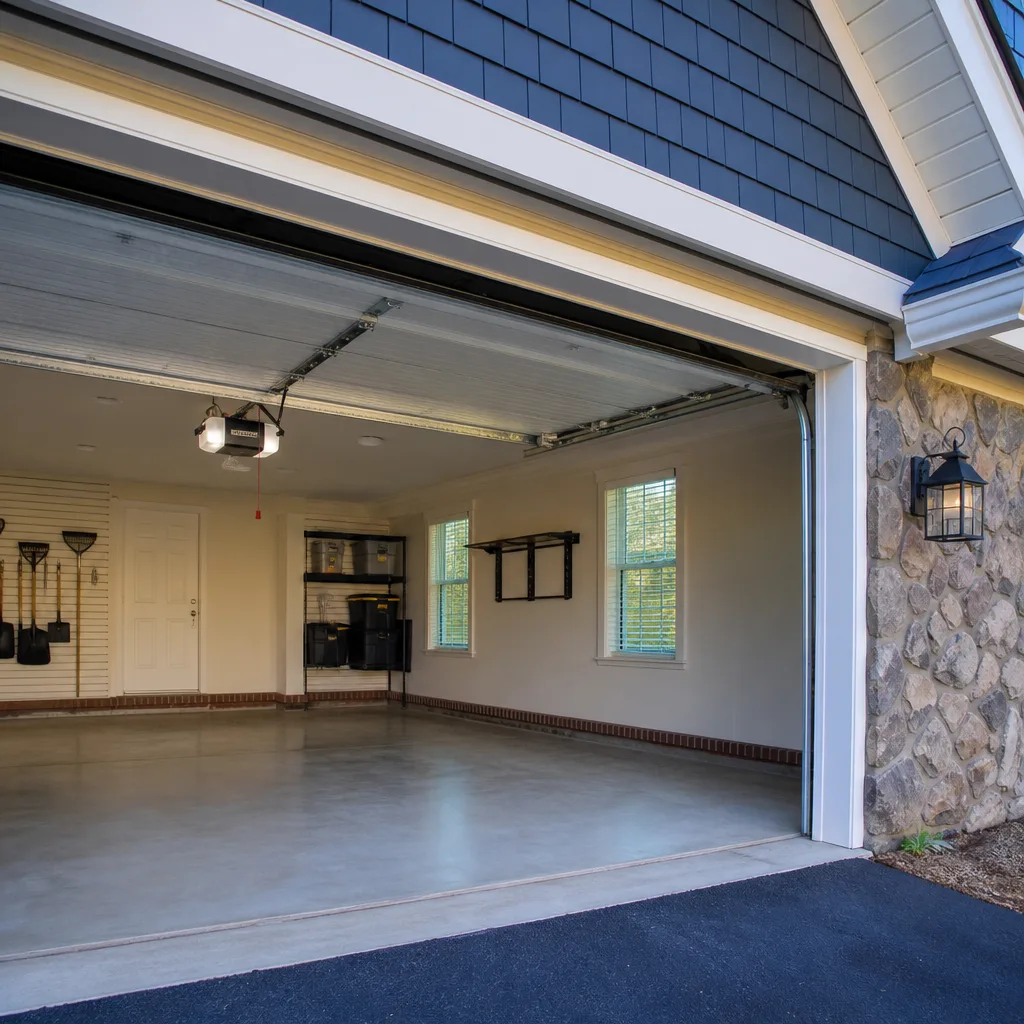 Chamberlain openers
Full 25-point door and opener safety check with every visit - springs, cables, rollers, tracks, and your LiftMaster or Chamberlain opener included
You get a price before we start. It does not change when the truck arrives.
Get your free estimateSeasonal Garage Door Care for Miami: Year-Round Homeowner’s Guide
Most garage door maintenance advice is written for places with freezing winters and thawing springs, which means it misses what actually happens in Miami. Here, salt air corrodes hardware year-round, UV radiation breaks down weatherstripping within two years, and the seasonal cycle that matters isn’t spring and fall – it’s hurricane season and dry season. A door that passes inspection in Minneapolis might already be compromised in Kendall. This guide covers what Miami homeowners should check, when to check it, and which signs mean a real problem versus normal wear. For more, see our The Complete Guide to Garage Door in Miami. We’ll walk through pre-hurricane preparation, dry-season maintenance, post-storm inspection, and the one year-round task nearly every homeowner we meet has neglected.
Styles & brands we work with
Quick Answer
Seasonal garage door maintenance in Miami comes down to two critical windows: a full inspection and tightening in May before hurricane season starts, and a seal-and-lubrication pass in February after the dry season has dried out weatherstripping and stiffened moving parts. The most important checks are hurricane bracing and track integrity in May, and UV-degraded seals and opener battery condition in February. A monthly visual check of the track channel for limestone dust and debris takes five minutes and prevents most premature roller and hinge wear we see.
Table of Contents
- Why Miami’s Climate Demands a Different Maintenance Calendar
- The May Pre-Hurricane Checklist: What to Inspect, Tighten, and Test
- How to Prep Your Garage Door for an Approaching Named Storm
- Post-Storm Inspection Protocol: Subtle Damage That Compromises Your Door
- Dry-Season Maintenance (December – April): Seals, Opener Batteries, and UV Damage
- The Year-Round Task Most Miami Homeowners Skip: Clearing Track Dust
- What We See Across Miami’s Most Common Garage Door Brands
- Common Mistakes to Avoid
- When to Call a Professional
- Frequently Asked Questions
- The Bottom Line
Why Miami’s Climate Demands a Different Maintenance Calendar
Miami’s environment does three things to a garage door that temperate climates don’t. First, the salt content in the coastal air accelerates corrosion on springs, hinges, and the bottom bracket. Second, intense year-round UV exposure breaks down rubber and vinyl seals far faster than the manufacturer’s typical replacement interval suggests. Third, the limestone-heavy construction dust that settles in track channels across South Florida acts like fine sandpaper on rollers and bearings. A standard “inspect twice a year” schedule from a national guide ignores all three.
What we’ve observed across Miami and the surrounding neighborhoods is that doors in coastal areas like Brickell, Coconut Grove, and Key Biscayne show spring corrosion within 36 to 48 months of installation, while the same hardware in Kendall or Doral might last five or six years. The difference is marine air exposure, not how often the door is used. This means your maintenance schedule should be built around Miami’s actual operational calendar: prepare in May, recover in November, and maintain during the dry months.
The tension springs on a typical sectional garage door are rated for roughly 10,000 cycles. In a Miami household where the garage is the primary entry point, that lifespan can be consumed in five to seven years. But neglected springs corrode from the outside inward, and a corroded spring doesn’t fail on a predictable schedule – it fails suddenly, often during the stress of a storm when the door is buffeted by wind pressure. That’s why the May inspection matters as much as it does.
See our full Garage Door Repair in Miami page for what a comprehensive tune-up covers.
The May Pre-Hurricane Checklist: What to Inspect, Tighten, and Test
May is the single most important month for garage door maintenance in Miami. If you do nothing else all year, do this checklist. The goal is to make sure your door can withstand the wind loads and pressure changes that a hurricane or a strong tropical storm applies to the largest opening in your home. A garage door that fails during a storm doesn’t just let water in – it creates a pressure differential that can lift your roof.
- Inspect the spring system visually. Look at both torsion springs (above the door, on the header) or extension springs (along the side tracks). Rust, gaps in the coil spacing, or visible stretching means the spring is reaching end of life. Do not touch or attempt to adjust springs yourself – the tension is high enough to cause serious injury.
- Tighten all track bolts and brackets. Use a socket wrench to check every bolt holding the vertical and horizontal tracks, the hinges, and the opener mounting hardware. Miami’s constant humidity causes expansion and contraction cycles that loosen fasteners over time.
- Test the balance manually. Pull the emergency release cord (with the door closed) and lift the door by hand to waist height. A balanced door holds position. A door that drops or rises is unbalanced, which strains the opener and wears components unevenly.
- Check the bottom seal for gaps. During a storm, wind-blown rain hits the bottom of your garage door with significant force. A cracked or compressed bottom seal lets water in and increases pressure on the door. Replace if you can see daylight through it.
- Verify hurricane bracing or wind load rating. If your home is newer or the door has been replaced since the building code updates following Hurricane Andrew, it likely has a wind-load rating. Check the sticker on the inside panel and confirm your local wind zone requirements. Doors without adequate bracing benefit from a vertical bracing retrofit before the season starts.
- Run the opener through a full cycle. Listen for grinding, struggling, or unusual noise. Test the auto-reverse by placing a piece of scrap wood (a 2×4 works) under the closing path – the door should reverse on contact. Test the photo-eye sensors by blocking the beam during closure.
- Lubricate moving parts. Use a lithium-based or silicone spray on the hinges, rollers, and spring. Avoid spray lubricants that contain solvent carriers – they attract dust and compound the limestone grit problem.
The mechanics here aren’t complicated, but the stakes are high. A door that comes off its tracks during a storm is a structural emergency. If you’re not comfortable doing these checks or you find something that looks wrong, this is when to have the pros do a full inspection. Kingsway Garage Door handles Garage Door Opener Repair in Miami and full mechanical checks.
How to Prep Your Garage Door for an Approaching Named Storm
When a named storm is in the forecast and you’re boarding windows or moving patio furniture, your garage door needs attention too. You have two realistic options: retrofit bracing if it’s needed and you have time, or manual operation with the opener disconnected if the power goes out.
If your door isn’t wind-rated and a retrofit brace hasn’t been installed, adding one days before landfall is not typically feasible. Home improvement stores often sell out of retrofit kits when a storm is approaching. The better play is annual preparation in May. But there are still steps you can take.
- Test the manual disconnect before you need it. The red emergency release cord hanging from the opener rail disconnects the door from the carriage, allowing manual operation. Practice pulling it and lifting the door by hand at least once before storm season. The last thing you want is to discover a jammed release mechanism during a power outage.
- Run the door to the closed position and leave it closed. An open garage door during high winds turns your garage into a wind sail. The door should remain closed and locked from inside the storm prep window until conditions pass.
- Clear the area inside the door. If the power fails and you need to leave through the garage, you’ll want a clear path to the manual release and the door itself. Move stored items away from the door’s interior face.
- Check the bottom seal one more time. If you have sandbags for the front door, consider placing a row across the inside base of the garage door. This adds weight and reduces water intrusion at the seal line.
One thing that surprises homeowners is that even wind-rated doors can be compromised if the surrounding framing isn’t properly reinforced. The door is only as strong as the connection between the tracks and the structure. That’s why the May tightening pass matters – a loose track bracket turns a 150 mph rated door into a much weaker system.
Post-Storm Inspection Protocol: Subtle Damage That Compromises Your Door
After the storm passes and the cleanup begins, most homeowners check for visible damage: dents, missing panels, broken windows. But we’ve seen doors fail weeks or months after a storm because of damage that wasn’t obvious the day after.
Run through this inspection once conditions are safe:
- Watch the door travel through a full cycle. Listen for new noises and watch for hesitation, wobbling, or uneven movement. A door that shifted during the storm may now be binding against the track.
- Check the track alignment. Use a level against the vertical tracks and look for any visible bowing or separation from the wall brackets. Even a quarter-inch of misalignment accelerates roller wear and can cause a derailment later.
- Inspect the spring system again. Storm vibration can reveal weakening corrosion that was hidden before. Fresh cracks in the spring coils are a sign of imminent failure.
- Examine the bottom seal for debris damage. Flooding and debris can tear or dislodge the bottom seal. A compromised seal lets in pests, water, and hot, humid air – a problem that compounds over weeks.
- Run the opener’s safety features. Debris can block photo-eye sensors or knock them out of alignment. Test the auto-reverse and beam interruption.
- Look for water stains on the interior panel faces. Water that soaked the panels can delaminate insulation or cause warping that’s not immediately visible.
If any of these items show problems, address them before the next use cycle. A door that’s not secure after a storm is a standing invitation to the next problem, and in Miami, another storm is always in the pipeline.
Dry-Season Maintenance (December – April): Seals, Opener Batteries, and UV Damage
Miami’s dry season doesn’t mean no humidity – it means lower rainfall and even more consistent sun. This is the period when the sun does its worst work on anything rubber, vinyl, or plastic on your garage door.
The bottom seal and side weatherstripping take direct sun and heat reflection off driveways and pavement. In our experience, OEM seals on Miami doors show visible cracking within 18 to 24 months. By year three, many have split completely at the corners. A failed seal means hot air, humidity, insects, and dust get into your garage, and the door’s energy performance drops with it. Check for brittleness by pressing the seal with your thumb – a healthy seal flexes, while a UV-damaged one feels stiff and may crumble.
February is the right time for this pass. The dry season is at its peak, and you’ll have a clear picture of what’s deteriorated. Run through this list:
- Inspect the bottom seal and both side seals. Replace if cracked, stiff, or separated from the channel.
- Check opener battery and photo-eye alignment. Most openers with battery backup (common with LiftMaster and Chamberlain models in Miami) should be checked annually. The battery inside the opener body wears out whether or not it’s been used. If your opener beeps when it runs or displays a battery warning on the wall panel, it’s time.
- Lubricate hinges, rollers, and the spring. Dry season doesn’t mean your hardware doesn’t need oil – it means the existing lubricant has likely dried out faster than in humid months.
- Inspect the panels for UV damage. Fading is cosmetic, but peeling paint or bubbling on steel panels can expose the metal underneath to corrosion. If you have a Clopay or Amarr door with a factory finish, minor scratches should be touched up with paint from the manufacturer to maintain the warranty.
- Test the opener’s force settings. On Genie and LiftMaster models, the opener’s force sensitivity can drift. Run the door closed on a piece of scrap wood and confirm it reverses immediately.
- Watch the door’s full travel path. Any newly developed noise or uneven movement in February is a problem to fix before hurricane season forces the issue in May.
Dry-season maintenance is about catching slow degradation before it becomes a failure during the season when failure matters most.
The Year-Round Task Most Miami Homeowners Skip: Clearing Track Dust
Here’s the thing almost no national garage door guide mentions: Miami’s soil is limestone, and the construction that never seems to stop anywhere in South Florida kicks up fine white dust that settles everywhere – including inside your garage door tracks. This dust mixes with whatever lubricant is on your rollers and hinges and creates an abrasive paste that acts like grinding compound on every moving part.
In Coral Gables, we see it as the chalky residue on the track interiors. In Doral and Hialeah, same story – it’s a county-wide condition tied to the geology, not the neighborhood. This dust is the reason rollers wear out years before their rated lifespan, the reason tracks develop grooves, and the reason hinges start to bind.
The fix is simple and takes about five minutes:
- Close the door. Disconnect the opener with the emergency release so you can work safely.
- Wipe the interior channel of both vertical tracks. Use a dry microfiber cloth. Work from bottom to top on each side, removing the chalky build-up.
- Wipe the horizontal track sections. Same method. You may need a step stool for the curved sections and the horizontal runs.
- Inspect the rollers for caked-on debris. If roller wheels have a ring of packed dust, replace them – at minimum, clean them with a dry brush.
- Reconnect the door and run a cycle. Listen for any resistance. A properly cleaned track should be quiet.
Do this monthly. If you’ve moved into a home where the previous owner never did, you’ll likely need a more thorough cleaning and possibly replacement of the worst roller sets before the track channel is truly clean. New garage door installations should include a thorough track cleaning as part of the prep. See our Garage Door Installation in Miami page for more on what a proper installation includes.
What We See Across Miami’s Most Common Garage Door Brands
Eight brands. One specialist. That’s how we’re built, and it’s why we can speak to the differences without pushing you toward a replacement you don’t need. For help deciding between them, read Choosing the Right Garage Door Brand: A Buyer’s Guide for Miami. Here’s what we observe with the brands most common in Miami.
LiftMaster and Chamberlain openers, which share a parent company and the myQ smart-home platform, dominate Miami’s opener installs. The most frequent issue we see is the plastic drive gear wearing out, particularly in garage doors that are unbalanced – the gear becomes the failure point. If your LiftMaster or Chamberlain starts making a chattering noise on operation, it’s the gear, and it’s repairable without replacing the opener.
Genie openers and the Aladdin platform are also common, especially in older homes. The screw-drive models require different lubrication than chain or belt drives, and using the wrong lubricant is the most common cause of premature screw wear. Genie’s photo-eye systems can also be finicky with direct Miami sun glare – a frequent complaint we hear from homeowners with east-facing garages.
Clopay doors are among the most common steel panel doors in Miami. The steel is well-coated, but we see rust formation at the panel seams where the paint has been scratched, usually from lawn equipment or incidental contact. Clopay’s polyurethane insulation performs well in our humidity, but the bottom seal channel is standard and needs the same two-year replacement cycle as anything else.
Common Mistakes to Avoid
- Lubricating the track channel. The track doesn’t need oil – the rollers do, and only at the bearing. Lubricant inside the track channel accelerates the limestone dust problem and creates the grinding paste that wears rollers prematurely.
- Using WD-40 on springs and hinges. It’s a solvent first and a lubricant second. It strips existing lubrication and leaves moving parts drier than before. Use lithium or silicone spray instead.
- Waiting until a named storm is forecast to check hurricane bracing. Retrofit brace kits sell out quickly when a storm approaches. May is the time. If you miss May, the second-best time is whenever you’re reading this.
- Ignoring an unbalanced door. A door that’s heavy on one side strains the opener, accelerates spring fatigue, and wears rollers unevenly. It’s a cheap fix when caught early and an expensive one after a derailment.
- Replacing the bottom seal and ignoring the side seals. The vertical weatherstripping along the side of the door gets as much UV exposure as the bottom seal. Replacing one and not the other leaves gaps that defeat the purpose.
- Skipping the spring inspection because “the door still works.” Springs don’t give warning before they break, and the break usually happens when the door is opening – the time of maximum load. An inspection that shows corrosion early can prevent a door crashing down.
- Painting over rust spots on the panels without treating the metal. Rust continues spreading underneath the paint. Sand to bare metal, apply a rust-inhibiting primer, then paint.
When to Call a Professional
Some jobs are maintenance, and some are repairs that wear a maintenance costume. If you see a spring that’s rusted, cracked, or stretched, leave it alone and call someone who works on them daily – torsion spring replacement involves stored energy that can cause serious injury. Same goes for any door that’s come off its track, an opener that’s sparking or smoking, or a door that’s dropped suddenly. If your door has sustained storm damage to the panels or tracks, don’t run the opener until it’s been inspected.
Kingsway Garage Door offers free estimates in Miami – call (866) 282-5541 and we’ll diagnose what’s actually wrong before recommending any fix. The right fix, not the easiest upsell.
Frequently Asked Questions
Twice a year at minimum: a full inspection and tightening pass in May before hurricane season, and a seal and lubrication pass in February. Monthly DIY checks include wiping the track channel clean of limestone dust and visually checking the spring and cables. Miami’s salt air and UV exposure compress the service intervals compared to what most national guides recommend.
A seasonal tune-up in Miami typically runs between $150 and $300 depending on whether parts like seals, rollers, or the battery need replacement. A full inspection that includes the spring system, track alignment, and opener testing is at the lower end. If the inspection identifies a failing spring, that’s a separate repair. Call (866) 282-5541 for an exact quote – estimates are free, and the price is agreed before any work starts.
Yes. Kingsway Garage Door works across eight of the most common brands in Miami: LiftMaster, Chamberlain, Genie, Clopay, Amarr, Wayne Dalton, Craftsman, and Raynor. We work on what you have. Our technicians diagnose the specific issue with the brand that’s installed rather than pushing a replacement you don’t need.
If your home was built before the stricter wind-load codes that followed Hurricane Andrew, likely yes. Newer doors often carry a wind-load rating sticker on the interior panel, but the rating only matters if the tracks and brackets are properly anchored. An inspection before the season determines whether your door meets Miami’s wind-zone requirements or needs a retrofit brace.
Between 18 and 36 months depending on sun exposure. Doors facing east or west, or those with unshaded driveways, see the fastest UV degradation. Check by pressing the rubber – a seal that’s stiff or cracked needs replacement. It’s an inexpensive repair with a meaningful impact on energy performance and pest intrusion.
No. The track doesn’t need lubrication – the rollers do. Lubricant inside the track channel attracts the limestone dust that’s everywhere in Miami, creating an abrasive paste that wears down rollers and grooves the track. Clean the track with a dry cloth monthly, and lubricate only the roller bearings, hinges, and the spring.
The Bottom Line
Miami’s garage door maintenance calendar doesn’t follow the old spring-and-fall rhythm. May is the month that matters most – the pre-hurricane inspection that makes sure your door can carry its rated load when the wind comes. February is the dry-season pass that catches seal degradation, battery wear, and the UV damage that happens quietly all winter. And monthly, the five-minute track cleaning keeps Miami’s limestone dust from grinding your hardware down. Do this and your door will outlast the weather that tests it. Skip it and you’ll find out what fails at the worst possible moment. For more guides & resources, visit our blog.
Written by the team at Kingsway Garage Door, serving Miami since 2015. Kingsway Garage Door home.
See the difference
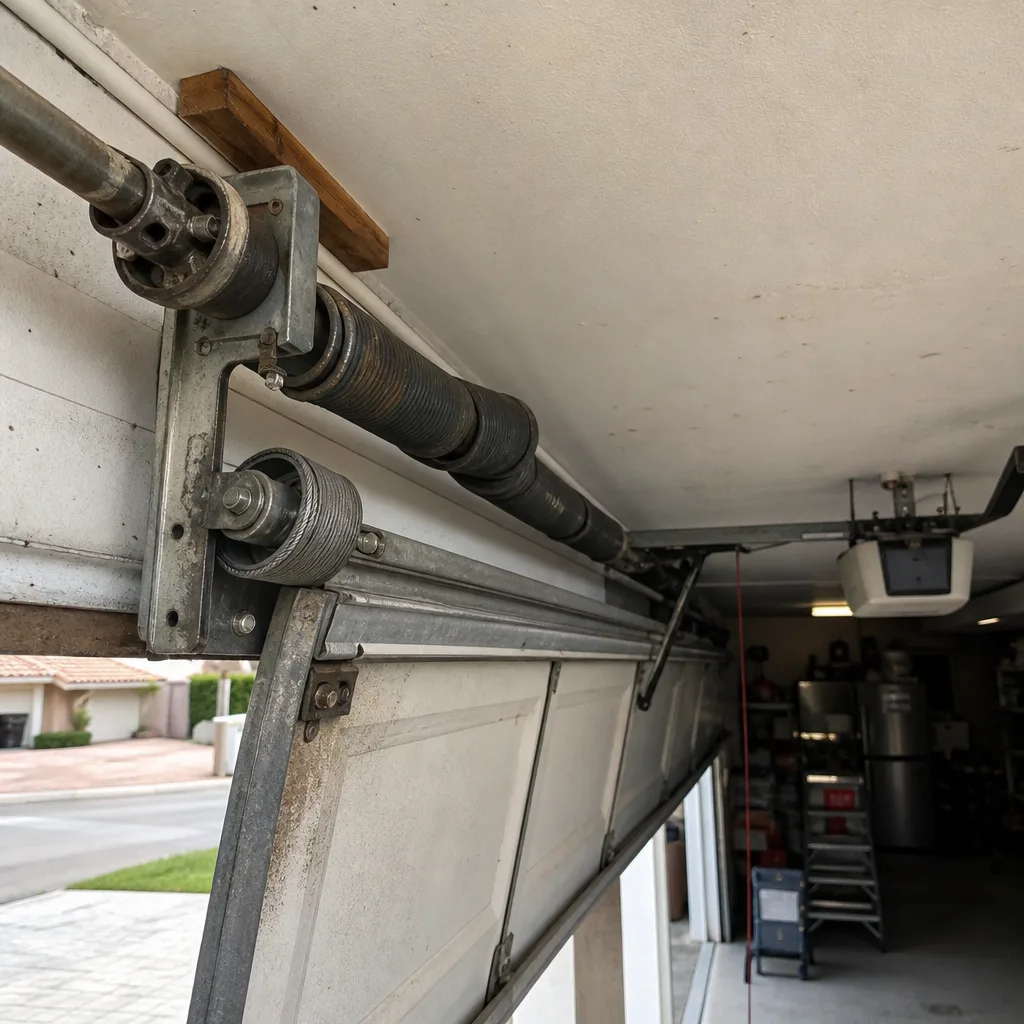 Before
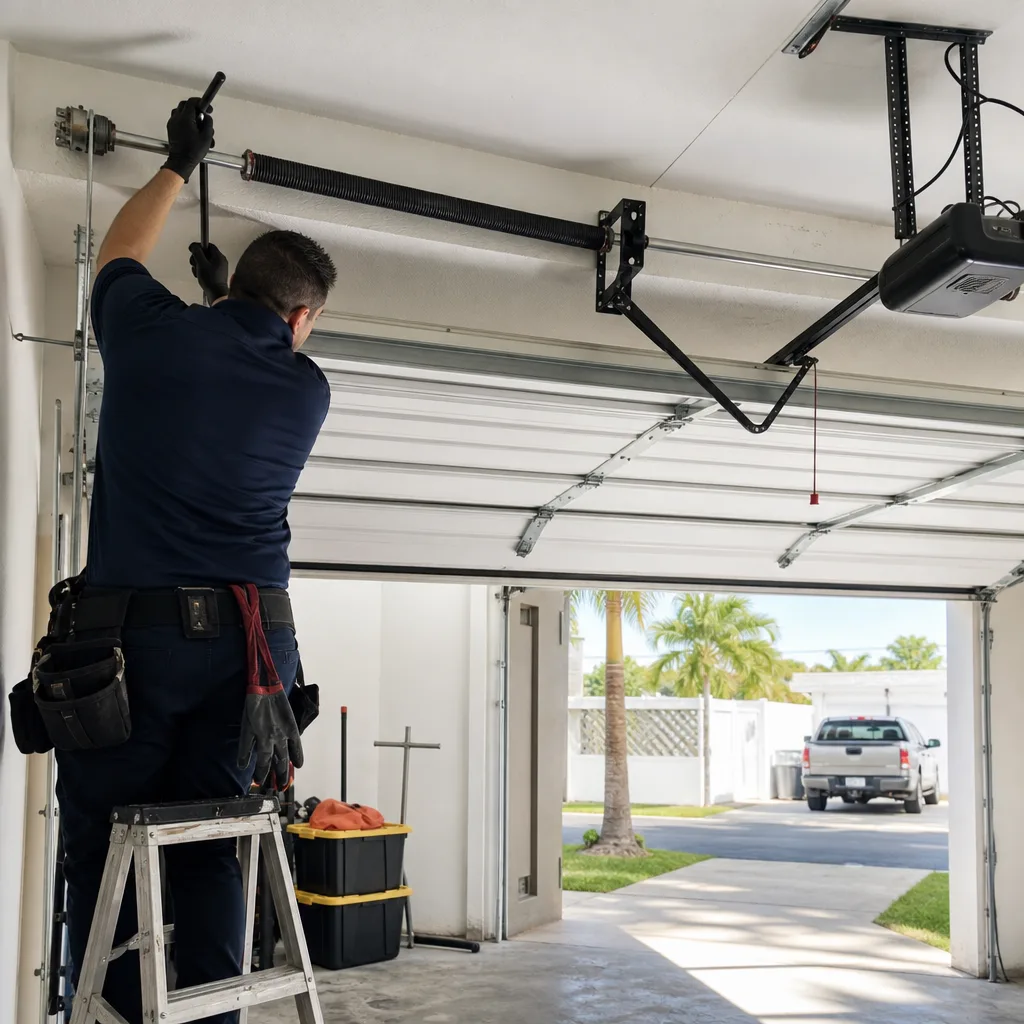 After
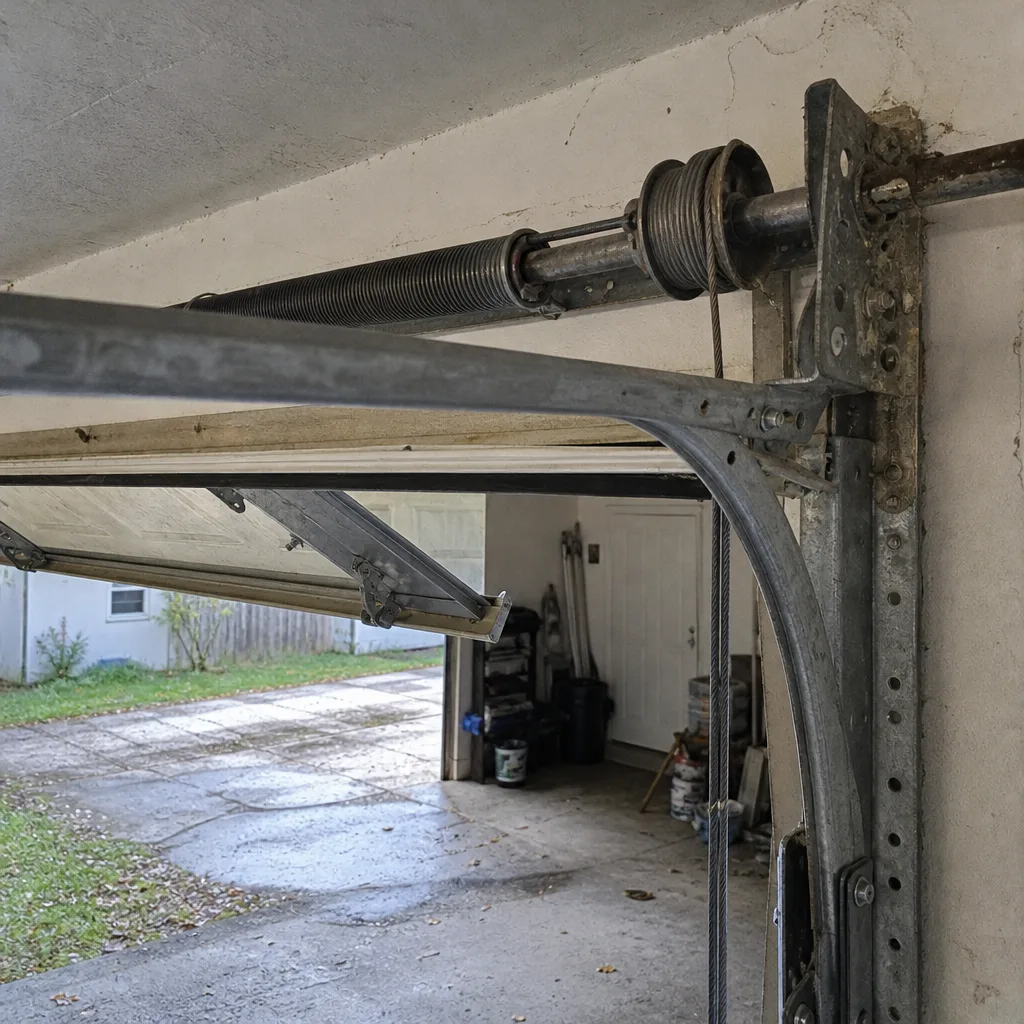 Before
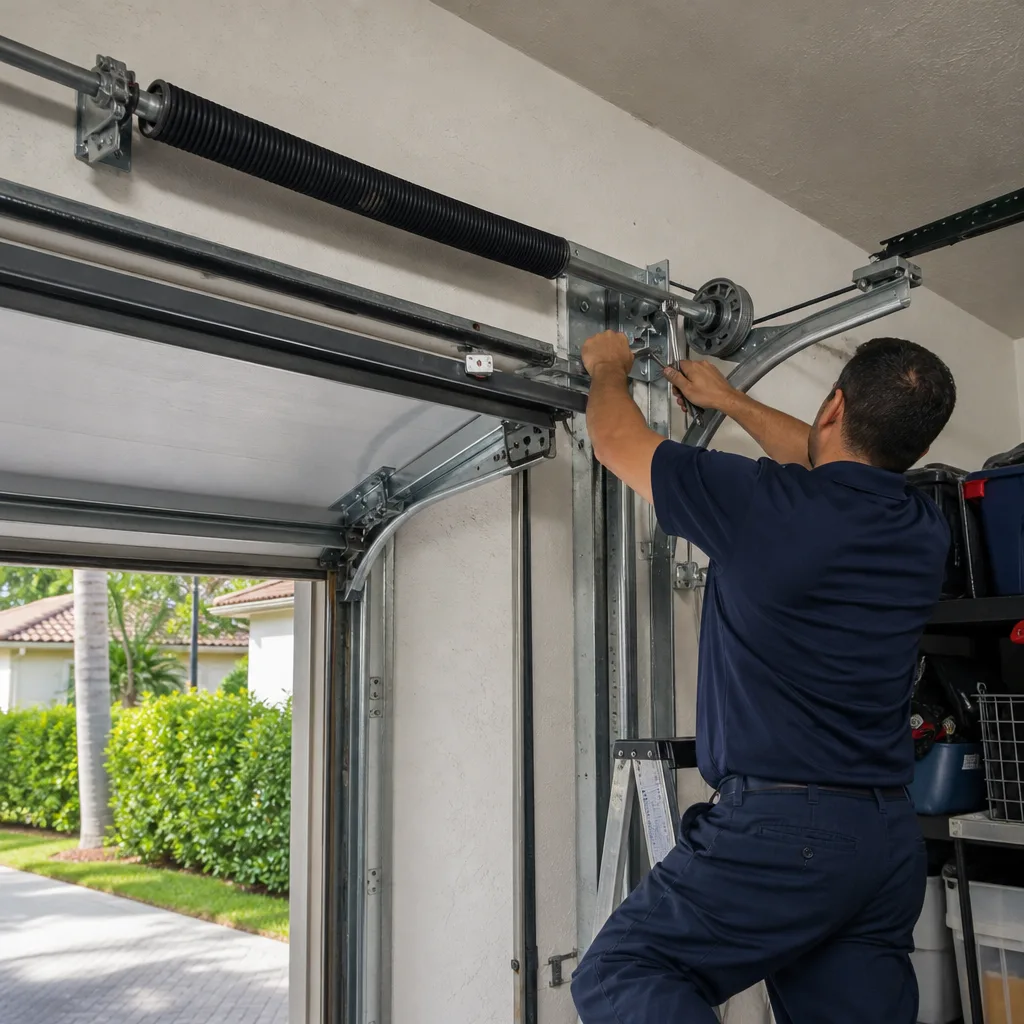 After
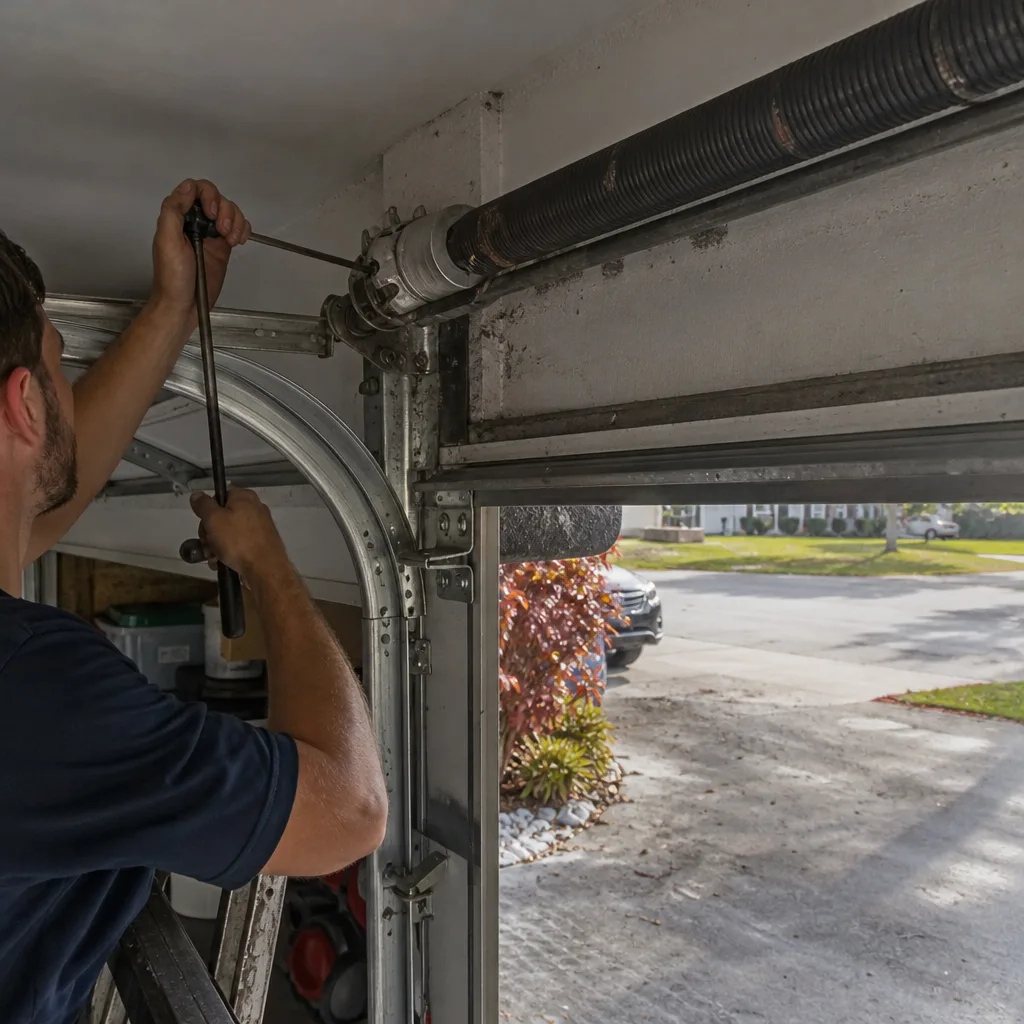 Before
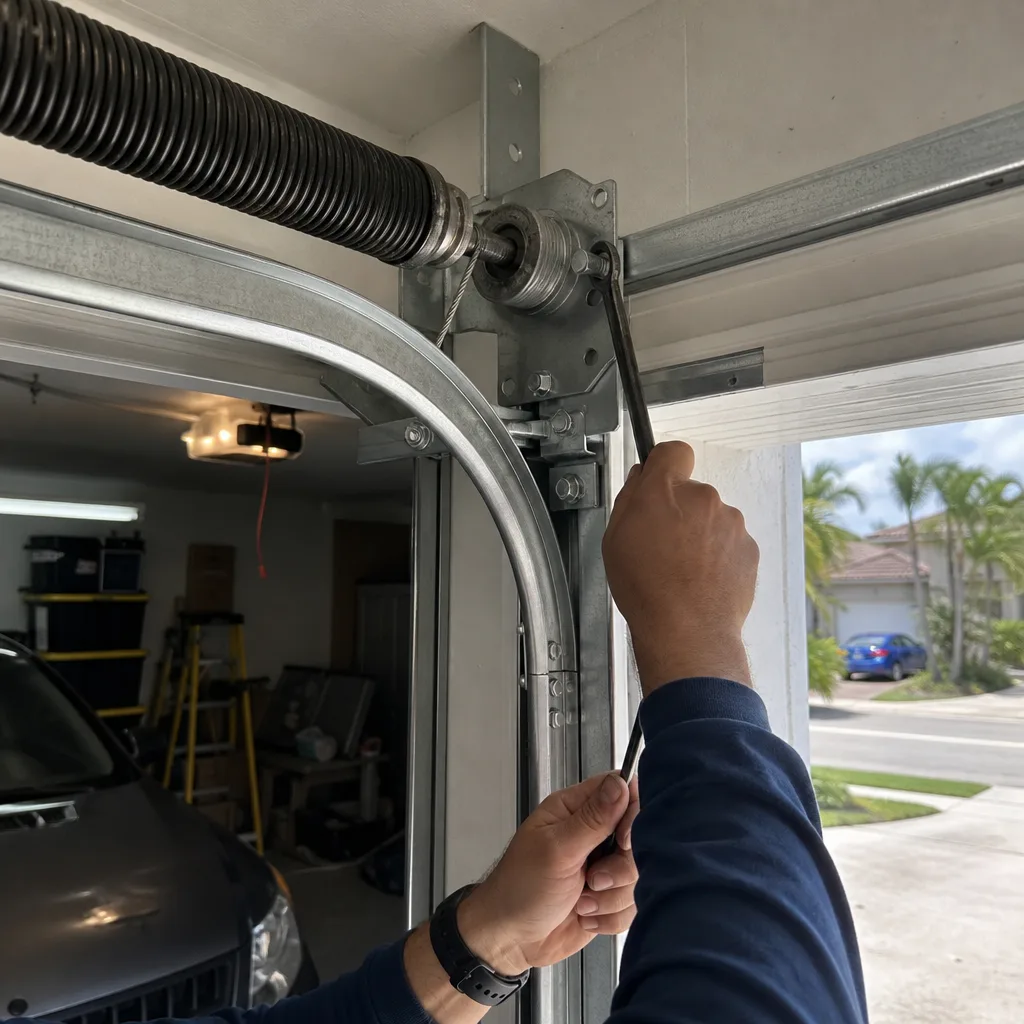 After