
Last updated October 30, 2026
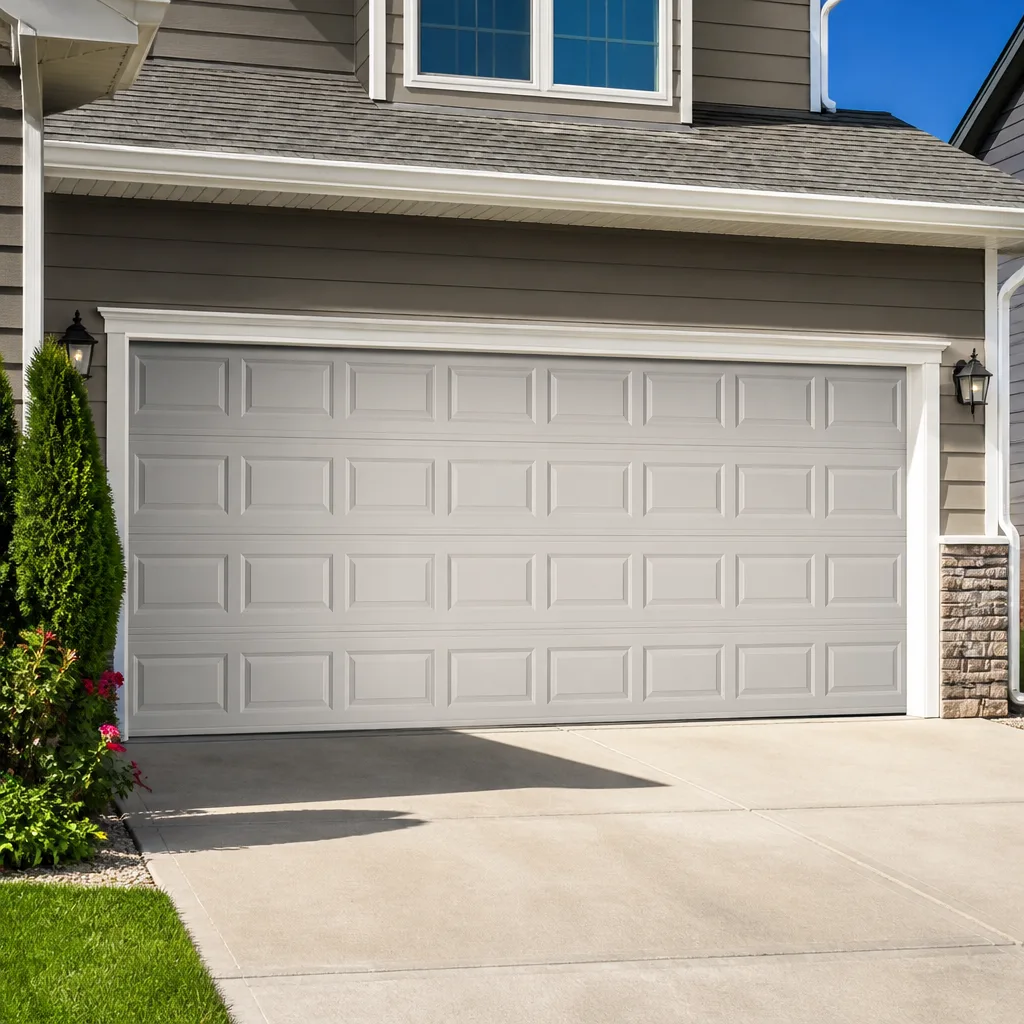 Raised-panel steel
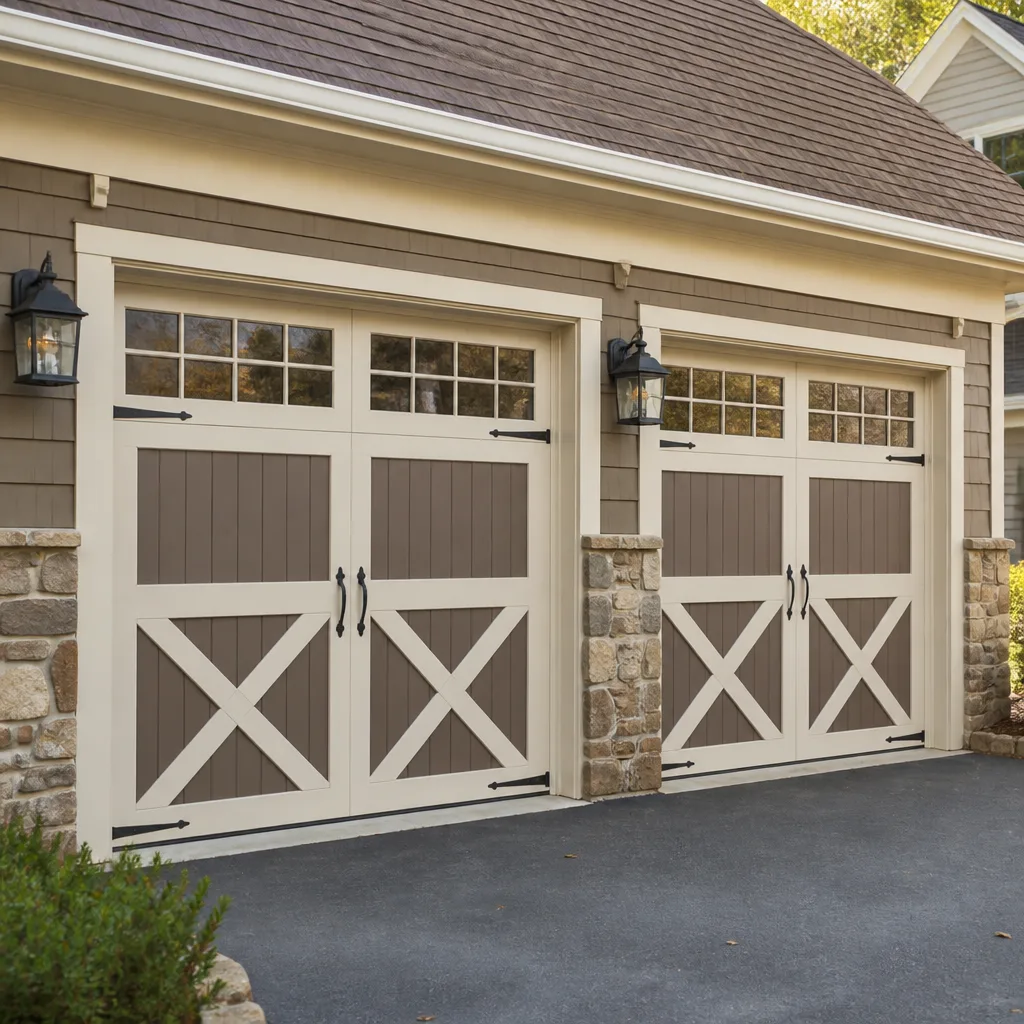 Carriage house
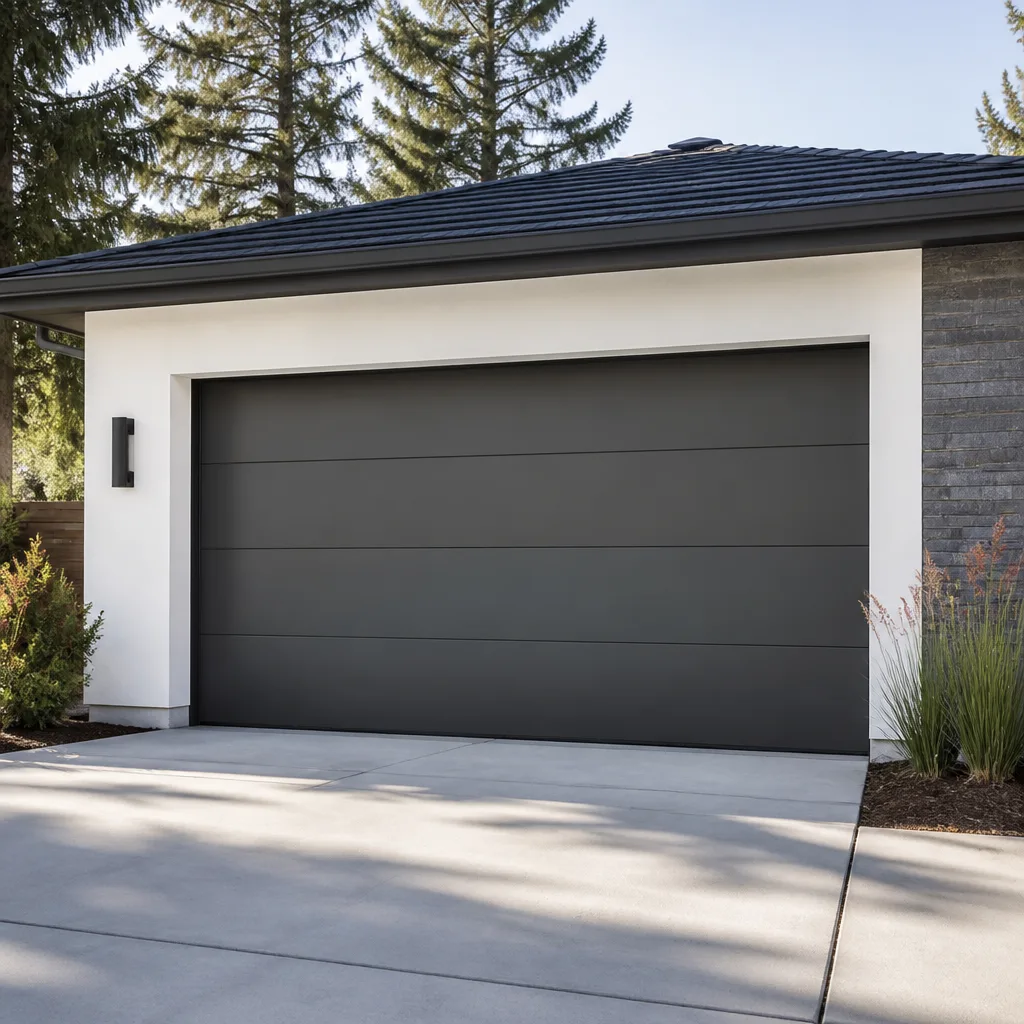 Modern flush
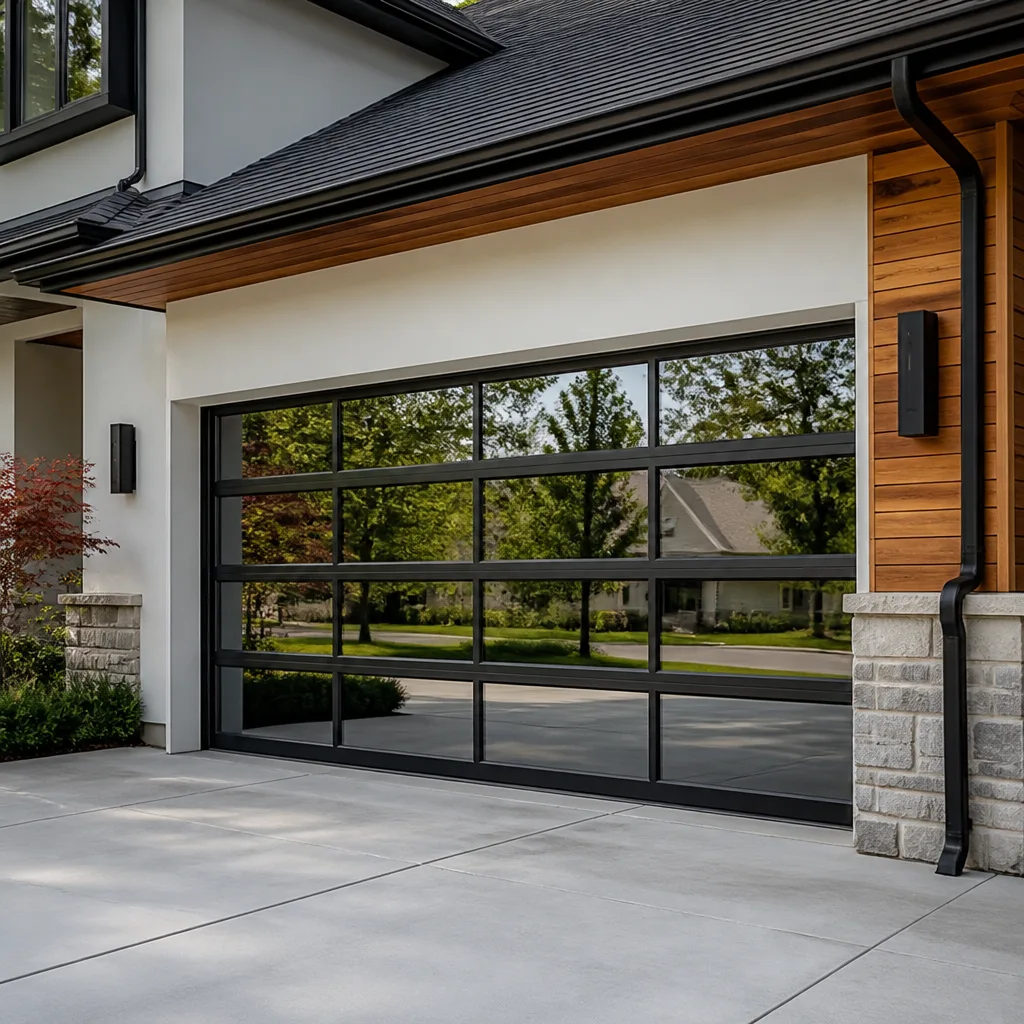 Full-view glass
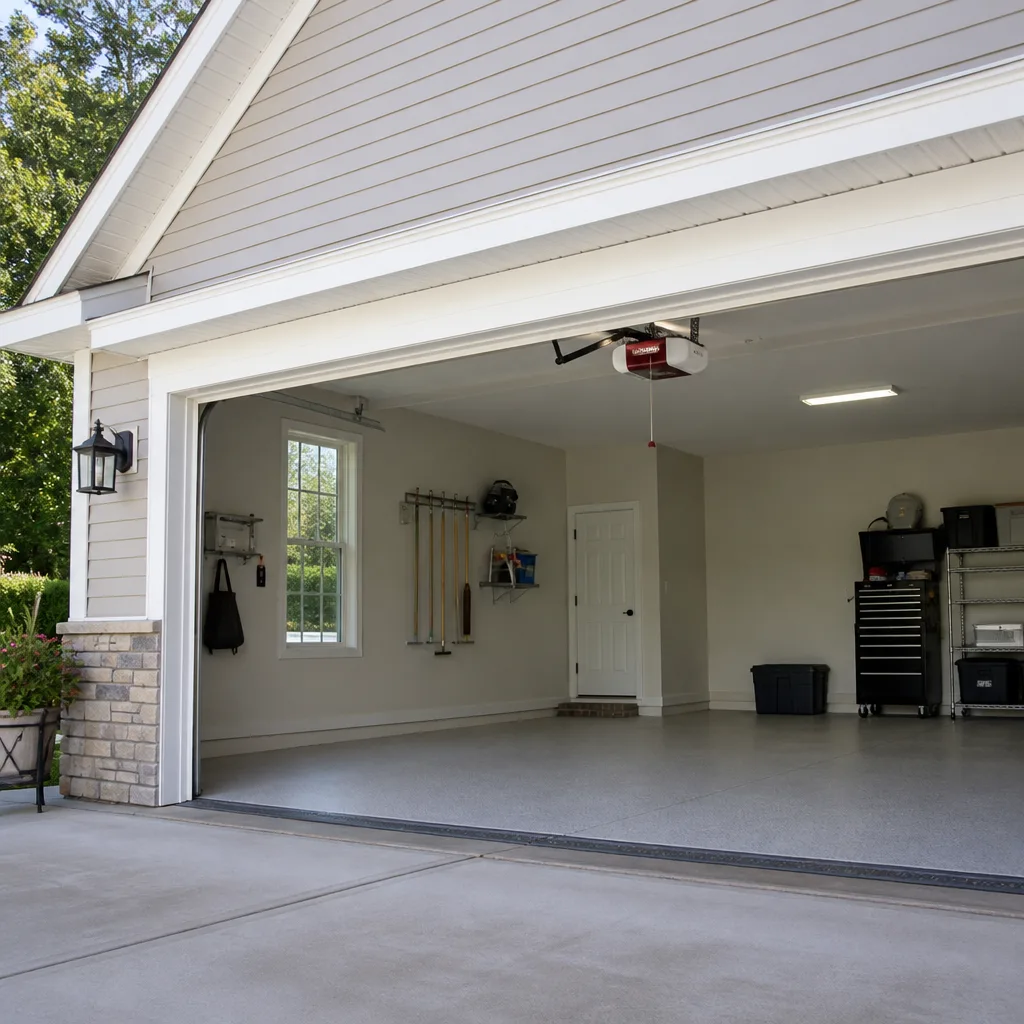 LiftMaster openers
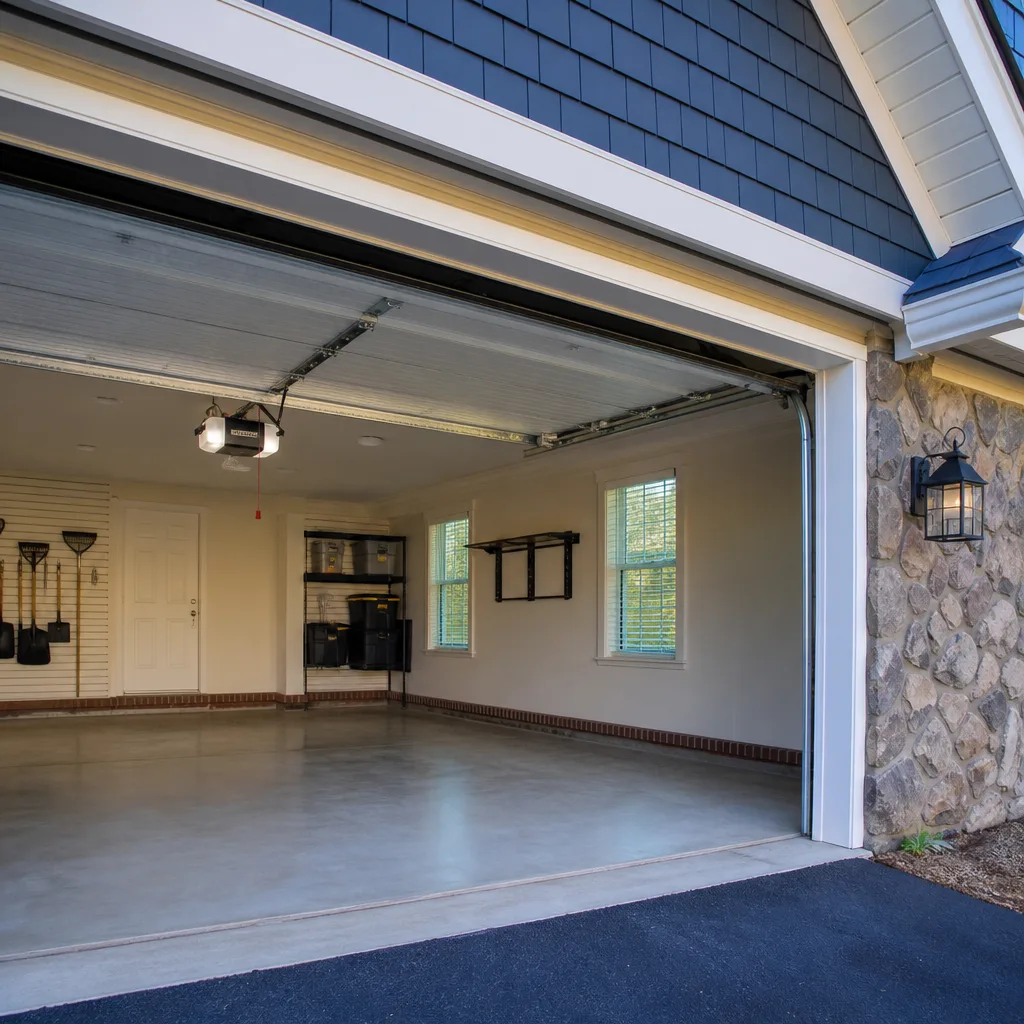 Chamberlain openers
Full 25-point door and opener safety check with every visit - springs, cables, rollers, tracks, and your LiftMaster or Chamberlain opener included
You get a price before we start. It does not change when the truck arrives.
Get your free estimateGarage Door Repair Troubleshooting: Common Problems and How to Fix Them
A garage door that reverses before hitting the ground isn’t malfunctioning. It’s doing exactly what it was designed to do. The real question is why it thinks the floor is two feet higher than it is. Every grinding noise, every hesitation, every uneven gap is a signal. Most guides tell you to “call a technician” the moment something acts up. This one teaches you to read what your door is actually saying, so you know whether you’re looking at a ten minute fix, a genuine safety issue, or a component that’s quietly failing and will cost more to ignore than to repair. In Miami, where salt air and humidity accelerate wear on tracks, rollers, and springs, that skill saves you real money. We’ll walk through the symptom to cause logic we use every day on service calls across South Florida.
Styles & brands we work with
Quick Answer
Our Garage Door Repair services start troubleshooting by identifying whether the problem is mechanical (springs, rollers, tracks, cables) or electrical (opener, safety sensors, remote, wall console). Common problems include doors that won’t close, openers that run but don’t move the door, grinding noises, and doors that reverse before touching the ground. Most mechanical problems with springs and cables require a trained technician, while sensor misalignment and remote issues are often homeowner-fixable in under ten minutes.
Table of Contents
- The Symptom to Cause Decision Tree
- Opener Problem or Door Problem: How to Tell in 60 Seconds
- Safety Sensor Troubleshooting: The 30% Fix
- Worn Rollers: The Great Impersonator
- Spring Failure: What That Loud Pop Means
- YouTube Fixes That Create Bigger Problems
- Miami-Specific Wear and What to Do About It
- Common Mistakes to Avoid
- When to Call a Professional
- Frequently Asked Questions
- The Bottom Line
The Symptom to Cause Decision Tree
Your garage door speaks in a limited vocabulary: noises, movements, and failures. Learning to parse those signals is the difference between a $15 part and a $400 repair. Here’s the decision logic we run through on nearly every Garage Door Repair in Miami call we take:
Read the Noise
- Grinding or metallic shrieking from the tracks: Rollers are the usual suspect. Worn bearings in the roller wheels create friction against the track, which produces a sound that owners often blame on the opener or springs. It’s almost never the opener. See the roller section below for the test that reveals the truth.
- Low rumble or vibration during operation: The door itself is resonating. Loose hardware on the door sections, hinge bolts backing out, or a slightly bowed track. Tighten first, replace only what’s actually damaged.
- Clicking from the opener unit but no movement: The opener is trying to engage. This points to a broken spring, a stripped drive gear inside the opener, or the emergency release cord being pulled. If you can lift the door manually with reasonable effort, the opener internals are the problem. If the door feels like it weighs 300 pounds, the spring is broken.
- Squeaking that changes pitch as the door moves: Dry hinges and rollers. White lithium grease on the hinge pins and a silicone-based lubricant on the rollers quiets this. WD-40 is not a lubricant. It’s a solvent that removes the grease that was there. In Miami’s humidity, using it on garage door rollers accelerates wear.
Read the Movement
- Door slows down then stops partway up: Spring tension is failing or a cable has jumped the drum. Either way, the opener is working against more weight than it’s rated for. Continuing to run it burns out the opener motor and can snap a cable under tension.
- One side hangs lower than the other: The cable on the high side has slipped or the door has come out of level. This puts uneven load on the springs and will eventually bend a track. Do not run the door in this state.
- Door reverses two or three feet before touching the floor: Classic safety sensor misalignment, or the force sensitivity on the opener is set too high for Miami’s humid air, which swells wooden door sections slightly and changes the resistance profile. We cover this fully below.
- Door jerks or shudders at a specific point in travel: Something is binding. A dented track section, a roller that’s seized, or a hinge that’s bent. Find the point where it happens and inspect that exact location with the door stopped.
Read the Failure
- Opener runs, door doesn’t move, no unusual noise: The emergency release is engaged. Check for a red cord hanging from the opener rail and re-engage the carriage.
- Opener runs, door doesn’t move, grinding from the unit: Stripped drive gear or broken sprocket inside the opener. This happens more often than owners realize, particularly on units older than ten years that have been cycling twice daily since installation. We repair this on LiftMaster, Chamberlain, Genie, and Craftsman openers regularly in our Miami service area.
- Nothing happens when you press the remote or the wall button: Power interruption to the opener, dead remote battery, or a blown logic board. Check the outlet first. It sounds obvious, but a tripped GFCI circuit in a Miami garage accounts for a surprising number of “dead opener” calls.
- Door opens a few inches then stops: The opener’s force setting or travel limits have drifted. This can happen after a power surge, which Miami thunderstorms produce in abundance during the summer. Reprogramming the limits often resolves it without parts.
This is the same mental model our technicians use before they even pull into a driveway. It narrows the problem from “something’s wrong with my garage door” to “the drive gear is stripped” in about ninety seconds of listening and watching.
Opener Problem or Door Problem: How to Tell in 60 Seconds
The single most common misdiagnosis in garage door repair is blaming the opener for a door problem or blaming the door for an opener problem. It wastes a service call when you could have known in a minute, and it leads to unnecessary parts purchases when you do call someone in. Here’s the test we teach every homeowner in Miami:
Step 1: Pull the emergency release cord. It’s the red handle hanging from the opener rail. This disconnects the door from the opener carriage.
Step 2: Lift the door manually by hand. It should move smoothly, with moderate effort, and it should stay in the open position on its own when you lift it about three-quarters of the way up. It should not crash down when you let go.
Step 3: Read the result.
- The door lifts easily, stays put, and moves smoothly: Your door and springs are healthy. The problem is in the opener. Call for Garage Door Opener Repair in Miami rather than a door technician. Better yet, call someone who does both like us, so you’re not paying a second diagnostic fee if the initial assessment was wrong.
- The door is heavy, hard to lift, or slams down from the open position: Your springs have lost tension or failed completely. The opener was doing the work the springs should be doing. If you replace the opener without addressing the springs, the new opener fails prematurely under the load. We see this regularly: a homeowner in Kendall installs a new Chamberlain opener, the door still struggles, and the “fix” turns out to be a $450 spring replacement they didn’t know they needed.
- The door feels like it’s catching or grinding as you lift it: Rollers, hinges, or track issues. The opener may be amplifying the symptom but it’s not the root cause. Fix the mechanical problem first, then reassess the opener.
This sixty second test saves our customers real money. It tells you where to focus. It also tells you whether you’re calling the right type of professional. We work on both sides of the system, which means we diagnose the whole door, not just the half we were called about. Eight brands, one specialist applies to diagnosis, not just parts.
Safety Sensor Troubleshooting: The 30% Fix
Here’s a statistic from our own service records in Miami: roughly three out of ten “door won’t close” calls resolve with a sensor realignment that takes under ten minutes and costs nothing. The safety sensors, those two small photo-eye units mounted on either side of the door near the floor, are the most misunderstood component on a modern garage door opener. They exist to prevent the door from closing on a person, pet, or object. When they misalign, the door refuses to close, and when they fail, it reverses right after touching the floor.
The Sequence Most Homeowners Skip
- Look at the sensor LEDs. Both sensors should show a solid light: typically green on the sending unit and amber on the receiving unit, depending on the brand. If one light is blinking, the sensor is misaligned, dirty, or blocked. If both lights are off, check the low-voltage wire connections at the opener and at the sensors. Miami’s garage-dwelling lizards and geckos enjoy chewing thin insulation, which we discover on a surprising number of calls in Coral Gables and Pinecrest.
- Clean the lenses. A soft dry cloth is enough. You’re removing pollen, dust, and salt-spray residue. In coastal Miami, salt deposits form on sensor lenses faster than you’d expect.
- Check the alignment. Both sensors must point directly at each other. A bump from a garbage can, a ladder leaning in the wrong spot, or years of vibration can shift one by a few degrees. Loosen the mounting bracket screw, align the units so the LED shows solid, and tighten.
- Inspect the wiring. The low-voltage wire runs from the opener, down the wall, and along the track to each sensor. Look for staples that have cut into the insulation, chew marks from rodents, or sections where the wire has been pulled taut and broken internally. A wire that’s damaged inside the insulation can test fine one day and fault the next.
- Check the sun. This sounds absurd until you’ve spent a summer troubleshooting in Miami. Direct sunlight hitting the receiving sensor during late afternoon can overpower the infrared beam and trick the opener into thinking there’s an obstruction. If your door only refuses to close at certain times of day, this is likely your culprit. The fix is a cardboard shield, a piece of PVC pipe cut lengthwise and slipped over the sensor, or simply swapping the sensor positions.
If you’ve run through all five steps and the LEDs are solid but the door still won’t close, you’re past the DIY zone. The sensor itself may have failed internally, or the logic board in the opener isn’t interpreting the signal correctly. That’s a parts-level diagnosis, and it’s where we’d rather see you call us at (866) 282-5541 than start swapping parts blindly. We carry replacement sensors for Genie, LiftMaster, and Chamberlain openers on our service trucks, so a single visit usually resolves it.
Worn Rollers: The Great Impersonator
A worn garage door roller can mimic nearly every other failure mode in the book. It can sound like a broken spring. It can cause door vibration that owners attribute to the opener. It can make the door bind in the track, which trips the opener’s force limit and reverses the door, which then gets blamed on the safety sensors. Rollers are the great impersonators, and in Miami’s humidity they wear faster than in drier climates because moisture accelerates the breakdown of the bearing grease inside the roller wheel.
The Physical Test That Reveals the Truth
Here’s how to determine whether your rollers are the actual problem, not the opener, not the springs:
- Close the door fully. Disconnect the opener using the emergency release.
- Grasp the door at the bottom and lift it about waist height.
- Watch and listen at the track level as you move the door up and down slowly.
- Look at each roller individually. Nylon rollers should turn smoothly in the track. Steel rollers should roll, not slide. If a roller has flat spots, is wobbling on its stem, or if the wheel isn’t touching the track at all, you’ve found your binding point.
- Spin test. With the door at half height, reach to a roller (one with nylon wheels is safest to touch) and spin it manually. It should rotate freely with minimal resistance. If it feels gritty, or won’t spin, the bearing inside is shot. If it has side-to-side play of more than an eighth of an inch on the stem, the roller is worn beyond tolerance.
What does a bad roller sound like? Usually a rough grinding or rasping sound that changes as the door passes specific segments of the track. It often gets louder in the section of track where the roller spends the most time: the middle of the travel curve. What does it feel like? A vibration you can feel through the door panels and sometimes through the wall, though the door itself looks fine.
Replacement rollers are cheap. The roller itself is under ten dollars. The labor is what you’re paying for, and it’s worth doing right. A roller replacement on a door with sixteen rollers is not the place to save money by ordering whatever generic part fits the diameter. Cheap nylon rollers fail in Miami humidity within two or three years and then you’re replacing them again. We install sealed-bearing nylon rollers on almost every roller-replacement job we do in the Miami area, and we tell customers what we’re using and why. It’s the difference between a repair that lasts five years and one that lasts fifteen.
Spring Failure: What That Loud Pop Means
If you’ve ever heard a sound like a gunshot coming from your garage, you’ve heard a torsion spring snap. It is sudden, it is loud, and it is the one garage door failure where the correct move is simple: stop touching the door and call a professional. Everything else on this page has nuance. Spring failure does not.
A garage door spring counterbalances the weight of the door. A typical sixteen-by-seven-foot steel door in a Miami home weighs between 150 and 200 pounds. The opener is not designed to lift that weight alone. It’s designed to assist a balanced door. When a spring breaks, the full weight transfers to the opener, which then works against a load it was never engineered to handle. That’s how a broken spring turns into a stripped opener gear six weeks later, which is the “secondary failure” pattern we see constantly on calls where a handyman or a YouTube tutorial was involved in the initial fix.
Signs a Spring Is Failing Before It Pops
- The door feels noticeably heavier when you lift it manually. Run the sixty second test above. If the door used to be easy to lift and now it’s a strain, the spring is losing tension. Springs don’t weaken gradually for months; they typically show this symptom for one to four weeks before failing completely.
- Visible gap in the spring coil. Torsion springs, mounted on the horizontal bar above the door, should look like a tight continuous coil. When they break, you’ll see a gap where the two halves separated, often about a half-inch wide.
- The door opens unevenly or hangs crooked. Most doors use two extension springs on the sides, or one large torsion spring. Either way, when one side loses tension, the door pulls toward the healthy side.
- Cables are loose or dangling. The lift cables on either side of the door should always be taut. A slack cable means the spring that was holding tension is no longer doing its job, or the cable has slipped off the drum.
Here’s the safety caveat that cannot be skipped: torsion springs are under hundreds of pounds of torque. The winding and unwinding process stores and releases energy that can cause serious injury or death if a spring breaks free during adjustment. This is not a repair you learn from a video. We repair springs on every brand that uses the standard torsion or extension system, whether it’s a Clopay door in Doral, an Amarr in Brickell, or a Raynor in Cutler Bay. We quote the price before any work starts, and we use springs matched to the door’s weight and cycle rating, not whatever happens to be in the truck. When you call us at (866) 282-5541, you’ll get a number for the spring replacement, typically in the $220 to $380 range in the Miami market depending on the door size and spring type, and that number doesn’t change when we arrive.
YouTube Fixes That Create Bigger Problems
We have no issue with a homeowner replacing a remote battery or realigning a sensor. We encourage it. What we see too often is the “successful” YouTube or handyman repair that saved $150 now and will cost $700 in six months. Here are the specific patterns from Miami service calls:
The Wrong Spring for the Door
Someone installs a pair of extension springs from a hardware store on a door that originally used a torsion system, or worse, installs a torsion spring with the wrong wire size and lift rating. The door “works” for a while, but the opener strains against incorrect balance. Within six months, the opener gear strips or the door section develops a stress crack near a hinge point. The original spring job might have been $100. The resulting repair is a spring replacement plus an opener repair plus possibly a door panel. We’ve priced that combination at $600 to $900 in the Miami metro, and every one of those calls starts with the same sentence: “It worked fine for a few months.”
The Grease Fix
If your door is grinding, the internet will tell you to grease everything. So the homeowner coats the tracks, the rollers, the hinges, and the chain with whatever spray lubricant is in the garage. Here’s the problem: tracks are engineered for rollers to roll, not slide. Greasing the track turns the roller’s rolling action into a sliding action, which flattens the roller wheels and creates the very friction the grease was supposed to prevent. The correct lubrication is light silicone on the roller bearings and hinge pins, and nothing on the tracks. We’ve had to degrease tracks on doors all over Miami because a well-intentioned homeowner followed a tutorial that worked on a different type of door than the one they own.
The “Free” Spring That’s Not Free
A common “trick” for a door that won’t stay open: someone adds a second spring or wraps a wire around a failing spring to squeeze more life out of it. The door opens. The problem is that a wrapped spring has unpredictable failure characteristics. It doesn’t break cleanly at the break point; it shatters at the point of maximum stress, which can send metal fragments across the garage. We’ve seen a fragment embedded in a drywall ceiling. The door closed fine for three weeks before that happened. Anything involving spring modification is a professional repair, full stop.
The Board Swap on a Door Problem
A door that’s been struggling for months finally stops responding to the opener. The homeowner concludes the logic board is dead, finds the part number online, and swaps in a new board for $80 on a LiftMaster or Genie unit. The door still doesn’t open right. Now there’s a new board, a new problem, and the original spring failure that caused the whole cascade is untouched. We see this specific pattern on maybe one in twenty Garage Door Opener Repair in Miami calls. The clue is usually the same: the new board is installed, the opener runs, but the door moves slowly and sounds strained. That means the door was the problem all along. Diagnose first, replace parts second. It’s the same discipline we use before quoting any repair.
The Skip-the-Reinforcement Strut
On a door that’s developed a bow or a crack, the cheap fix is to bolt a flat piece of angle iron across the damaged section and call it good. It works for a few months. Then the crack propagates past the reinforcement, because the original damage came from the door cycling while out of balance, and the out-of-balance condition was never corrected. The proper fix is to address the balance issue (springs), then reinforce or replace the damaged section. On a door that isn’t balanced, no amount of reinforcement will prevent the next crack, because the uneven load is the cause, not the symptom.
Miami-Specific Wear and What to Do About It
Garage doors in Miami age differently than doors anywhere else in the country. The humidity, the salt air, and the hurricane-driven wind pressure all leave marks. Understanding how this specific environment affects your door changes what you inspect and how often.
Humidity and Roller Bearings
Miami’s average relative humidity runs between 65 and 80 percent year-round. Roller bearings are sealed with grease that breaks down under heat and moisture. A roller that would last fifteen years in Phoenix lasts eight to ten in Miami. The failure signature is a gritty feel when you spin the roller, and a grinding noise that gets worse in summer when the garage heats up and the remaining grease thins. We recommend a visual inspection of rollers every two years in a Miami home, versus the five year interval you’d get away with in a drier climate. It’s a ten minute check that catches a $12 roller before it takes a track with it.
Salt Air and Hardware Corrosion
If you live within three miles of Biscayne Bay or the Atlantic coast in Miami, your garage door hardware is in a constant salt spray environment, even if you never see water. Hinge bolts, track brackets, and especially cable strands absorb it. Galvanized hardware slows corrosion but doesn’t stop it. The first sign is usually a rust-colored staining on the door panels near the hinges, followed by a cable that strands and frays at the drum. We replace more corroded lift cables in Miami Beach and Coconut Grove than in any other service areas. The preventive move is an annual rinse of the track hardware with fresh water and a light coating of marine-grade silicone on exposed metal. It’s not a fix for existing corrosion, but it slows the progression.
Hurricane Pressure and Door Flex
A garage door is the single largest opening in a home’s wind envelope. Even doors rated for Miami-Dade’s wind code, which is among the strictest in the country, flex under sustained hurricane-force pressure. That flexing stresses the hinges, the reinforcement struts, and the spring system. After any storm with sustained winds over 74 mph, we recommend checking the balance of the door with the manual lift test, and inspecting the hinges and struts for hairline cracks. A door that survived the storm can still have internal damage that fails three months later, usually at the worst possible moment. This is also why Garage Door Installation in Miami work differs from installation elsewhere: bracing patterns and reinforcement requirements are different here, and they’re non-negotiable.
The Sun-Soaked Door Face
West-facing garage doors in Miami take brutal afternoon sun from March through October. Paint fades, which is cosmetic, but the thermal expansion cycle also affects the door metal and the bond between panels and insulation. On an older door, sun exposure can cause the panel sections to expand and contract enough to affect the seal between sections, which changes the door’s balance slightly and can contribute to the “door reverses near the floor” symptom. The fix is not to raise the force limit on the opener, which creates a safety hazard. The fix is usually a minor track adjustment or replacing worn bottom weather stripping that’s dragging. Either way, it’s a diagnostic call, not a parts cannon.
Common Mistakes to Avoid
- Adjusting the force limit instead of fixing the cause. When a door reverses or struggles, the opener’s force limit setting gets cranked up “so it closes.” That setting exists to prevent the door from crushing something or someone. Raising it to overcome a binding roller or a failing spring turns a $200 mechanical repair into a safety hazard and eventually an opener replacement. You’re not fixing the problem; you’re overriding the machine’s attempt to tell you about it.
- Lubricating the track. Tracks should be clean and dry. Lubricating them changes roller friction, flattens wheels, and attracts Miami’s fine dust and salt to form an abrasive paste that accelerates wear. Lubricate the roller bearings and hinge pins only, with a silicone spray, not WD-40.
- Replacing the opener when the door is the problem. See the sixty second test above. If the door is heavy and the springs are shot, a new opener is a band-aid on a broken bone. Diagnose the door first.
- Buying parts based on brand name alone. A Raynor door doesn’t only accept Raynor-branded rollers, and a Clopay door doesn’t require Clopay-branded springs. Compatible parts from reputable manufacturers work fine. A brand-agnostic shop like ours stocks cross-compatible parts for all eight major brands, which means we can usually complete a repair in one visit without ordering specialty items.
- Ignoring a door that’s running “fine” but different. Doors don’t improve on their own. If your thirteen-year-old LiftMaster opener used to lift the door in six seconds and now takes nine, something has changed. The change is almost always on the door side: spring fatigue, roller wear, or track misalignment. Wait long enough and the small fix becomes a bigger one.
- Running the door with a broken spring until the opener dies too. The broken spring is the repair you already need. Every cycle with a broken spring damages the opener gear. We’ve replaced openers that had less than two years of use because the owner ran them for months against a broken spring. That’s a $500 lesson from a $300 problem.
When to Call a Professional
You can replace a remote battery, realign a sensor, and clean a track yourself. You should not touch springs, cables, track repairs involving bending, or opener repair that involves opening the motor housing. Torsion springs carry hundreds of pounds of stored torque. Cables under tension can lash and cause serious injury. A track that’s come loose from the wall requires re-anchoring to the structural framing, not the drywall. And opener internals, especially on smart units with control boards and Wi-Fi modules, are best handled by someone who works on them daily. If the problem is beyond your comfort level or your diagnosis is uncertain, call. Kingsway Garage Door offers free estimates in Miami, and we diagnose before we quote, so you know what you’re paying for before any work begins. Call (866) 282-5541 and we’ll walk through the symptom with you on the phone first.
Frequently Asked Questions
Garage door repair in Miami typically ranges from $150 to $380 depending on the component. Roller replacement runs $150 to $250, spring replacement $220 to $380 for a standard door, sensor replacement $120 to $200, and opener gear replacement $180 to $300. The price is quoted and agreed before any work starts. Call (866) 282-5541 for a specific quote on your door and issue, and we’ll give you a number that doesn’t change when a technician arrives.
A garage door that reverses before touching the floor is usually responding to a safety sensor issue, either misaligned photo eyes, a dirty lens, or direct sunlight hitting the receiving sensor. It can also be caused by a force limit set too low, a bottom seal that’s dragging, or a track obstruction near the floor. Start with the five-step sensor sequence above; if the LEDs are solid and the door still reverses, call for a diagnostic visit.
Most garage door opener repairs are completed the same day or next day, depending on the part. We carry common parts for LiftMaster, Chamberlain, Genie, and Craftsman openers on our trucks, including sensors, gears, belts, and remote receivers. If your opener has a less common failure, the part may need to be ordered, which typically adds one to three days in the Miami area.
Standard torsion springs are rated for roughly 10,000 cycles, which translates to seven to ten years for most Miami homeowners who cycle the door two to three times daily. Humidity and salt air don’t directly shorten spring life, but the additional strain from worn rollers and corroded hardware does. If your door feels heavier than it used to, test it manually and call before the spring fails completely.
We stock a full inventory of rollers, hinges, cables, springs, sensors, and opener components for all eight major brands we service. For most jobs, the repair is completed in a single visit. Occasionally a specialized spring or a specific electric motor isn’t in stock, and we order it immediately, usually with a one to two day turnaround in Miami. Call (866) 282-5541 to confirm your specific issue before we dispatch.
Yes. The opener, door, and sensors don’t need to match brands. A Chamberlain opener will run a Clopay door fine, and a Genie opener will run an Amarr door fine, as long as the opener is rated for the door’s weight and size. If you’re upgrading to a smart opener from an older unit, we can install a myQ-compatible LiftMaster or a Genie Aladdin unit on your existing door. The Kingsway Garage Door home page has more on our installation options, and you can always call for a straight answer on compatibility.
The Bottom Line
Your garage door tells you what’s wrong if you know how to listen. A grinding noise points to rollers, not the opener. A heavy door points to springs, not the motor. A reversing door points to sensors, not the track. Learning to read these signals saves money, saves time, and keeps you from replacing parts that were never the problem. For more guides & resources, visit our blog. For anything beyond sensors and remotes, get a diagnosis from someone who works across every major brand, not someone selling one. If you’re in the Miami area, call (866) 282-5541 for a free estimate. We’ll diagnose, we’ll explain what we found, and we’ll quote the exact price before we touch a thing.
Written by the team at Kingsway Garage Door, serving Miami, FL, with brand-agnostic expertise across LiftMaster, Chamberlain, Genie, Clopay, Amarr, Wayne Dalton, Craftsman, and Raynor. Eight brands. One specialist.
See the difference
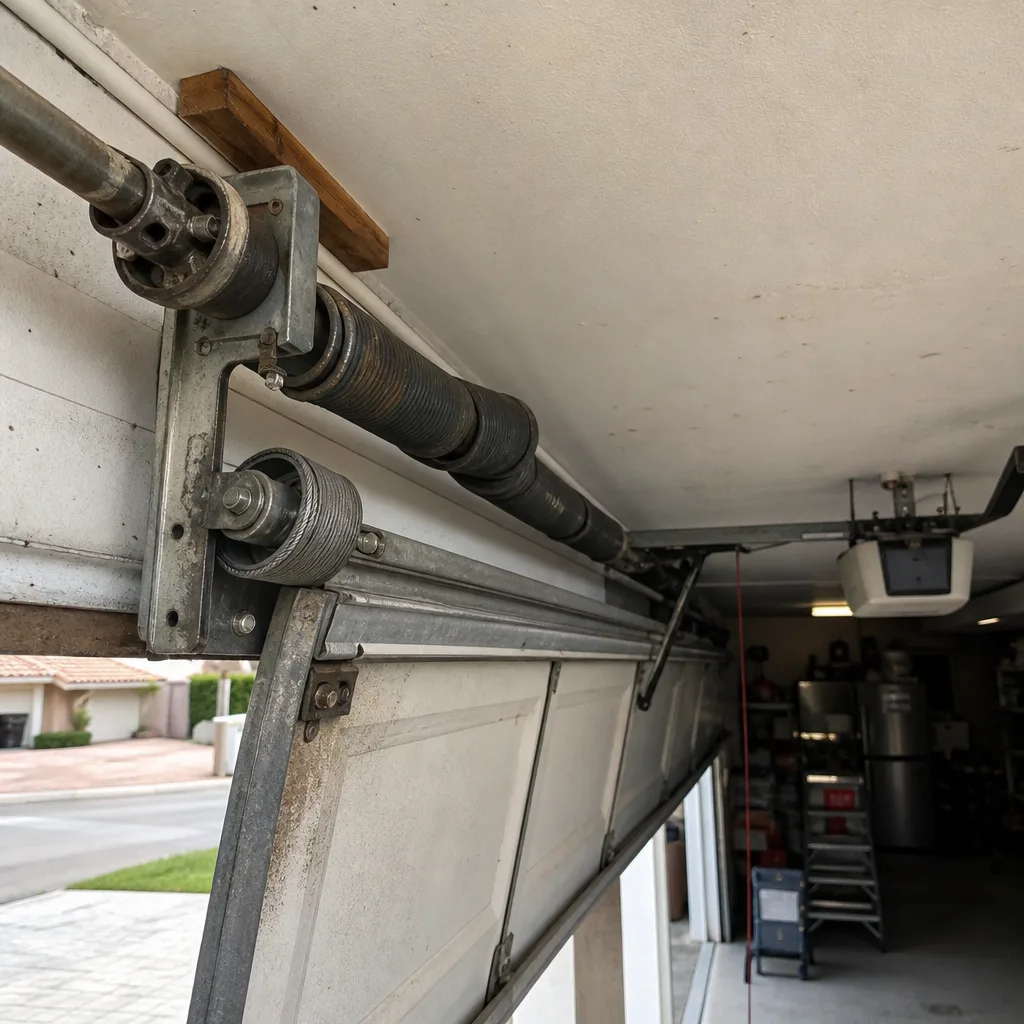 Before
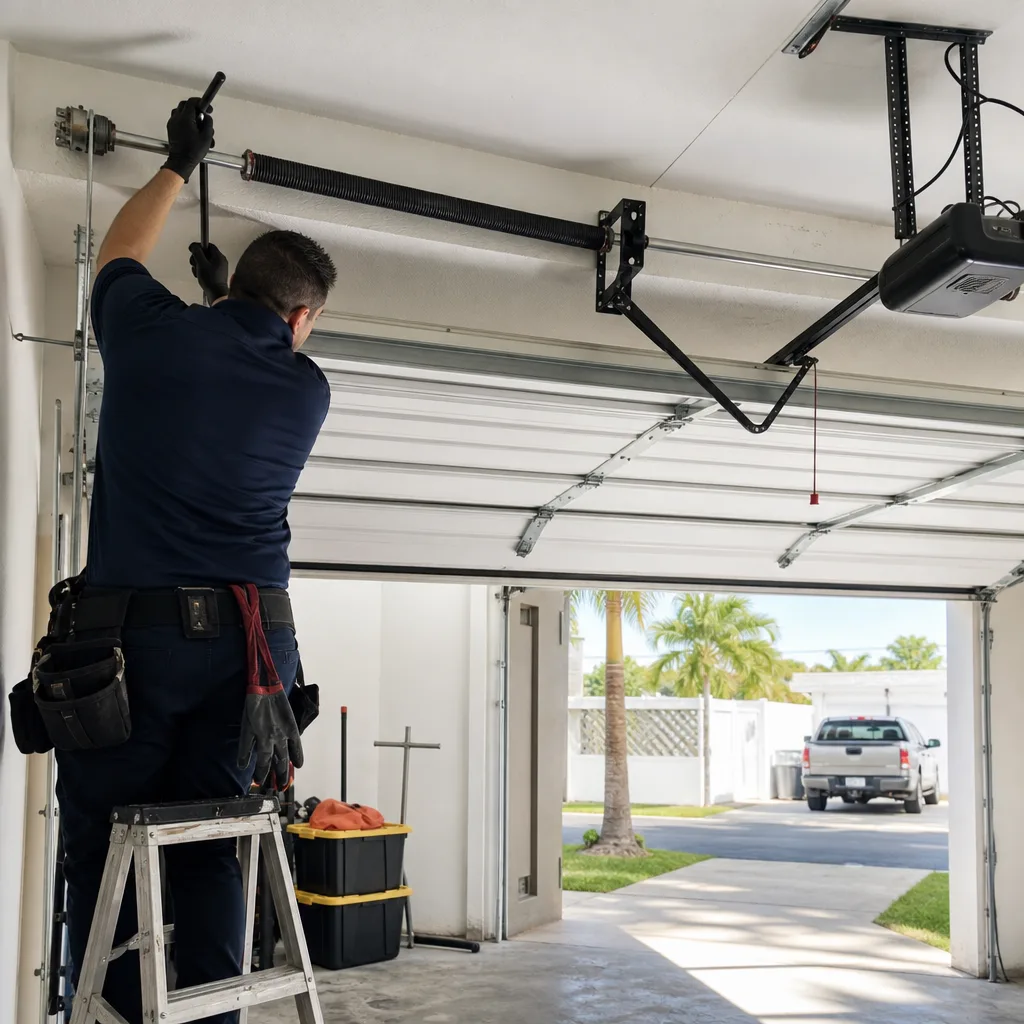 After
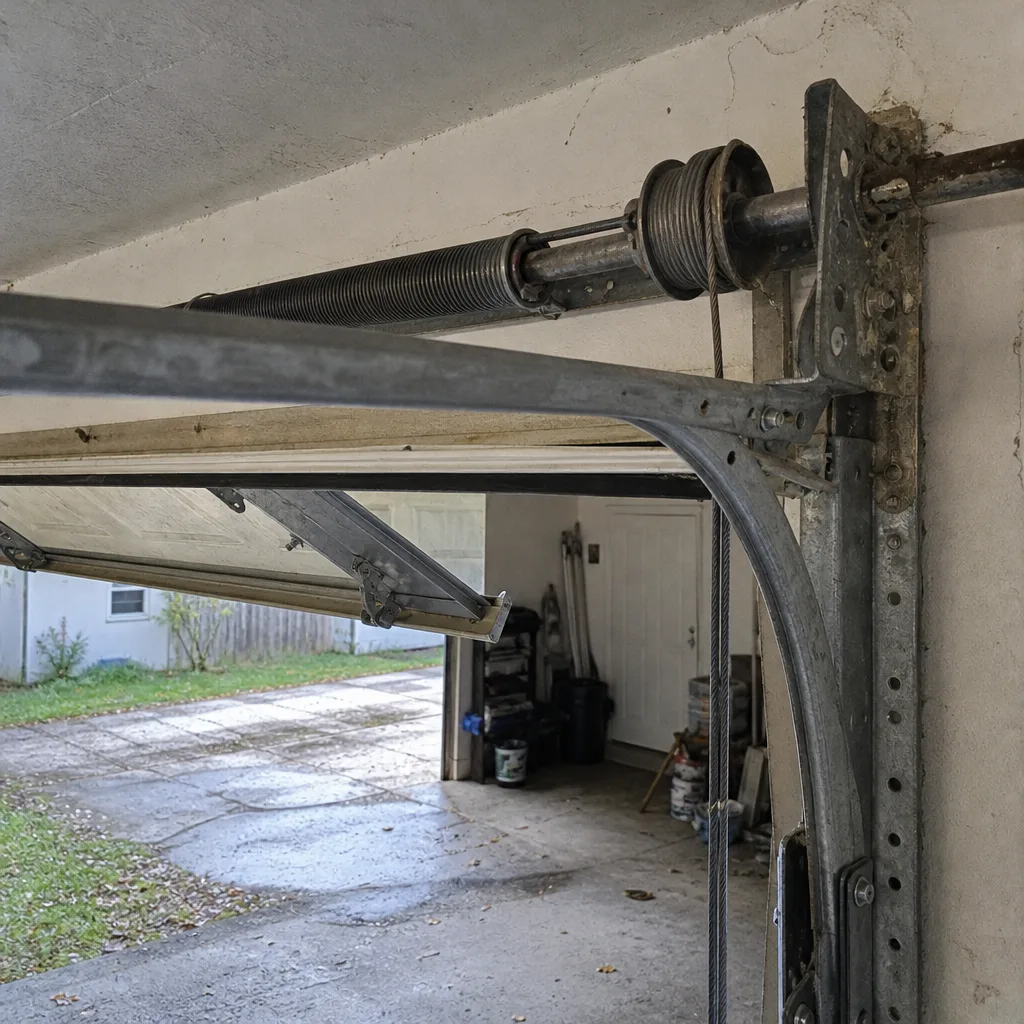 Before
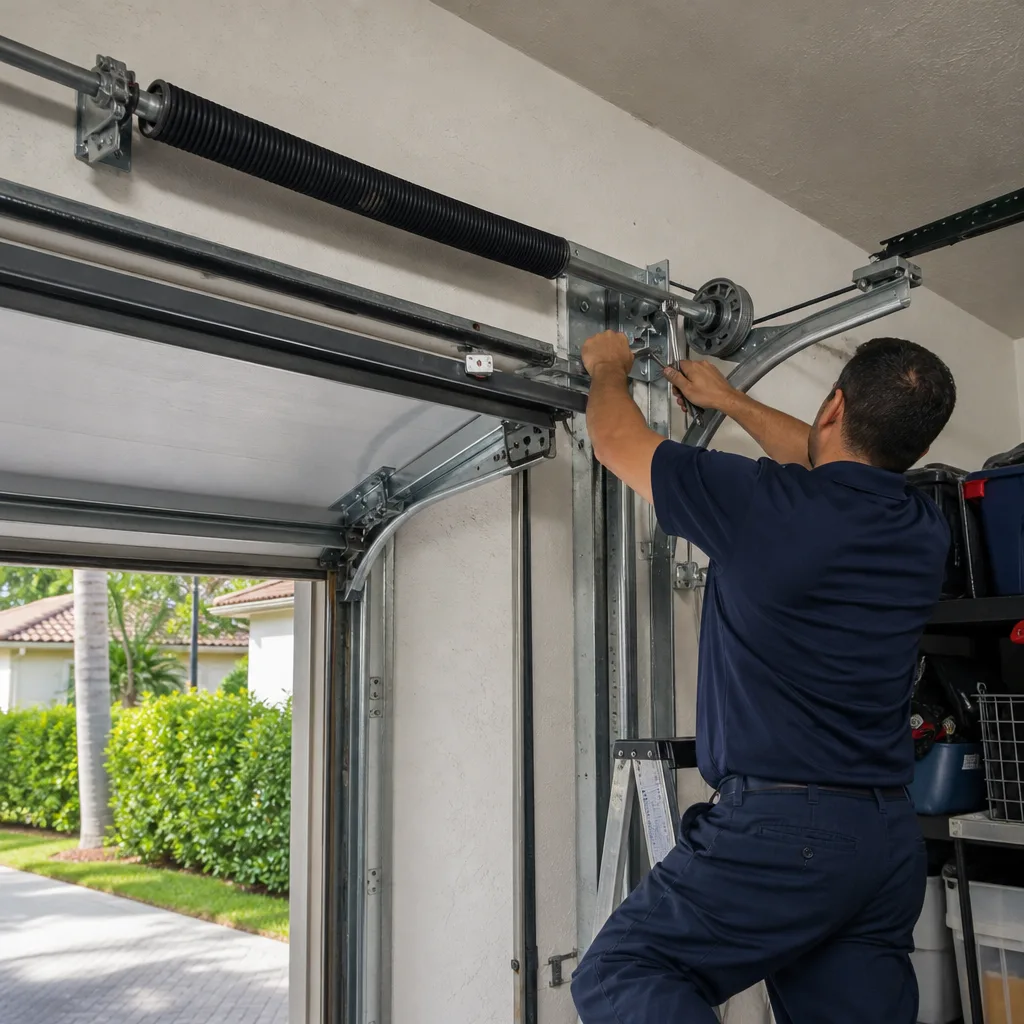 After
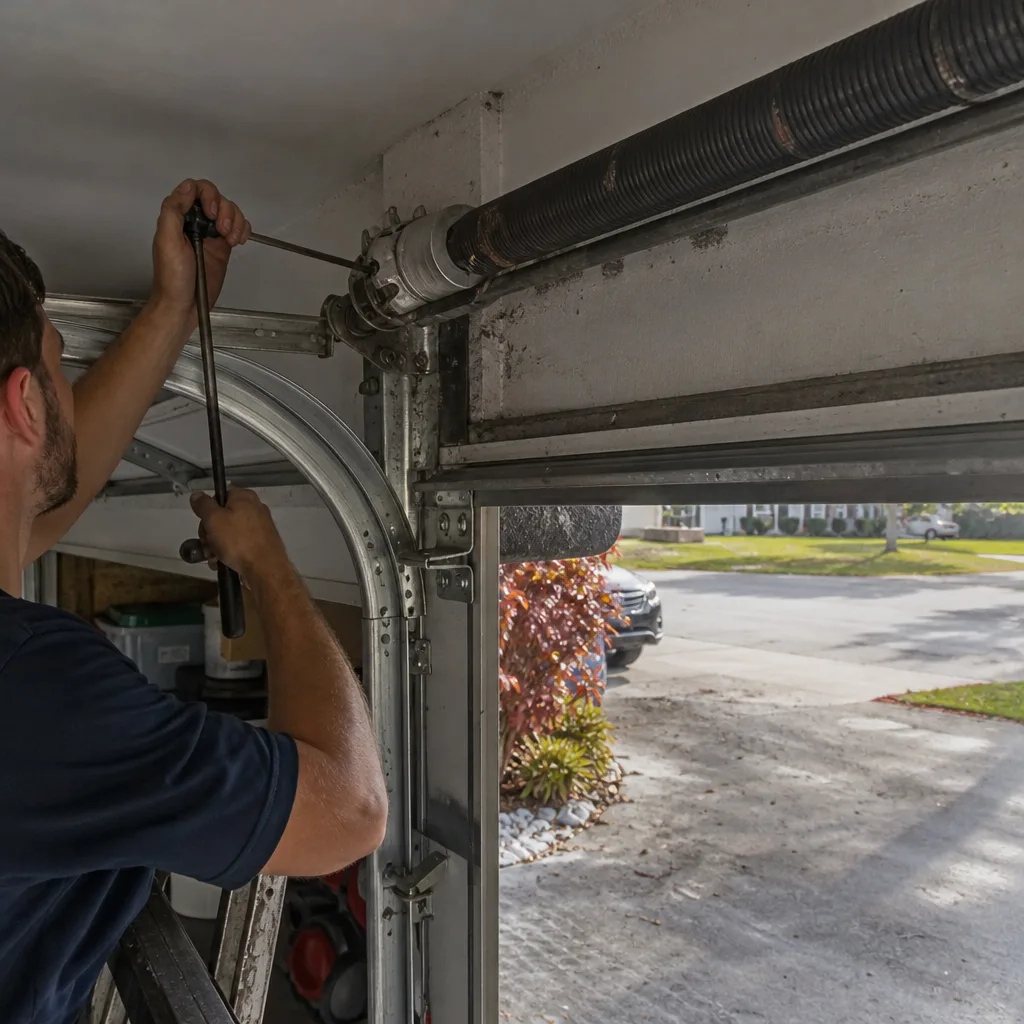 Before
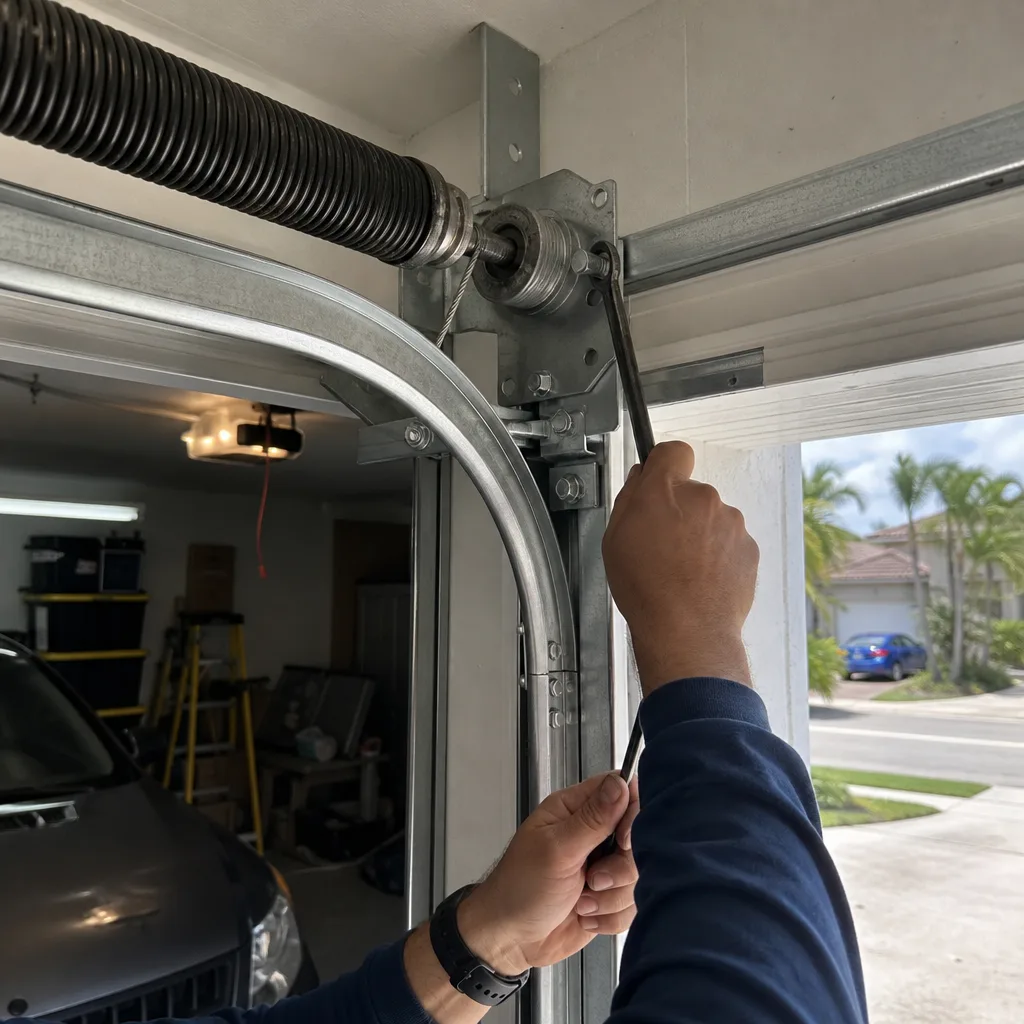 After